Homestead Gardens Phase 1 is a 162-unit multi-family residential community in Homestead, FL, and 4Tress Construction is building its interiors and exterior walls: metal stud framing, drywall, finishing and stucco. This series follows the work stage by stage. Part 1 is the skeleton of every unit: the metal stud framing. Continue with Part 2 and Part 3.
1. Laying out every unit
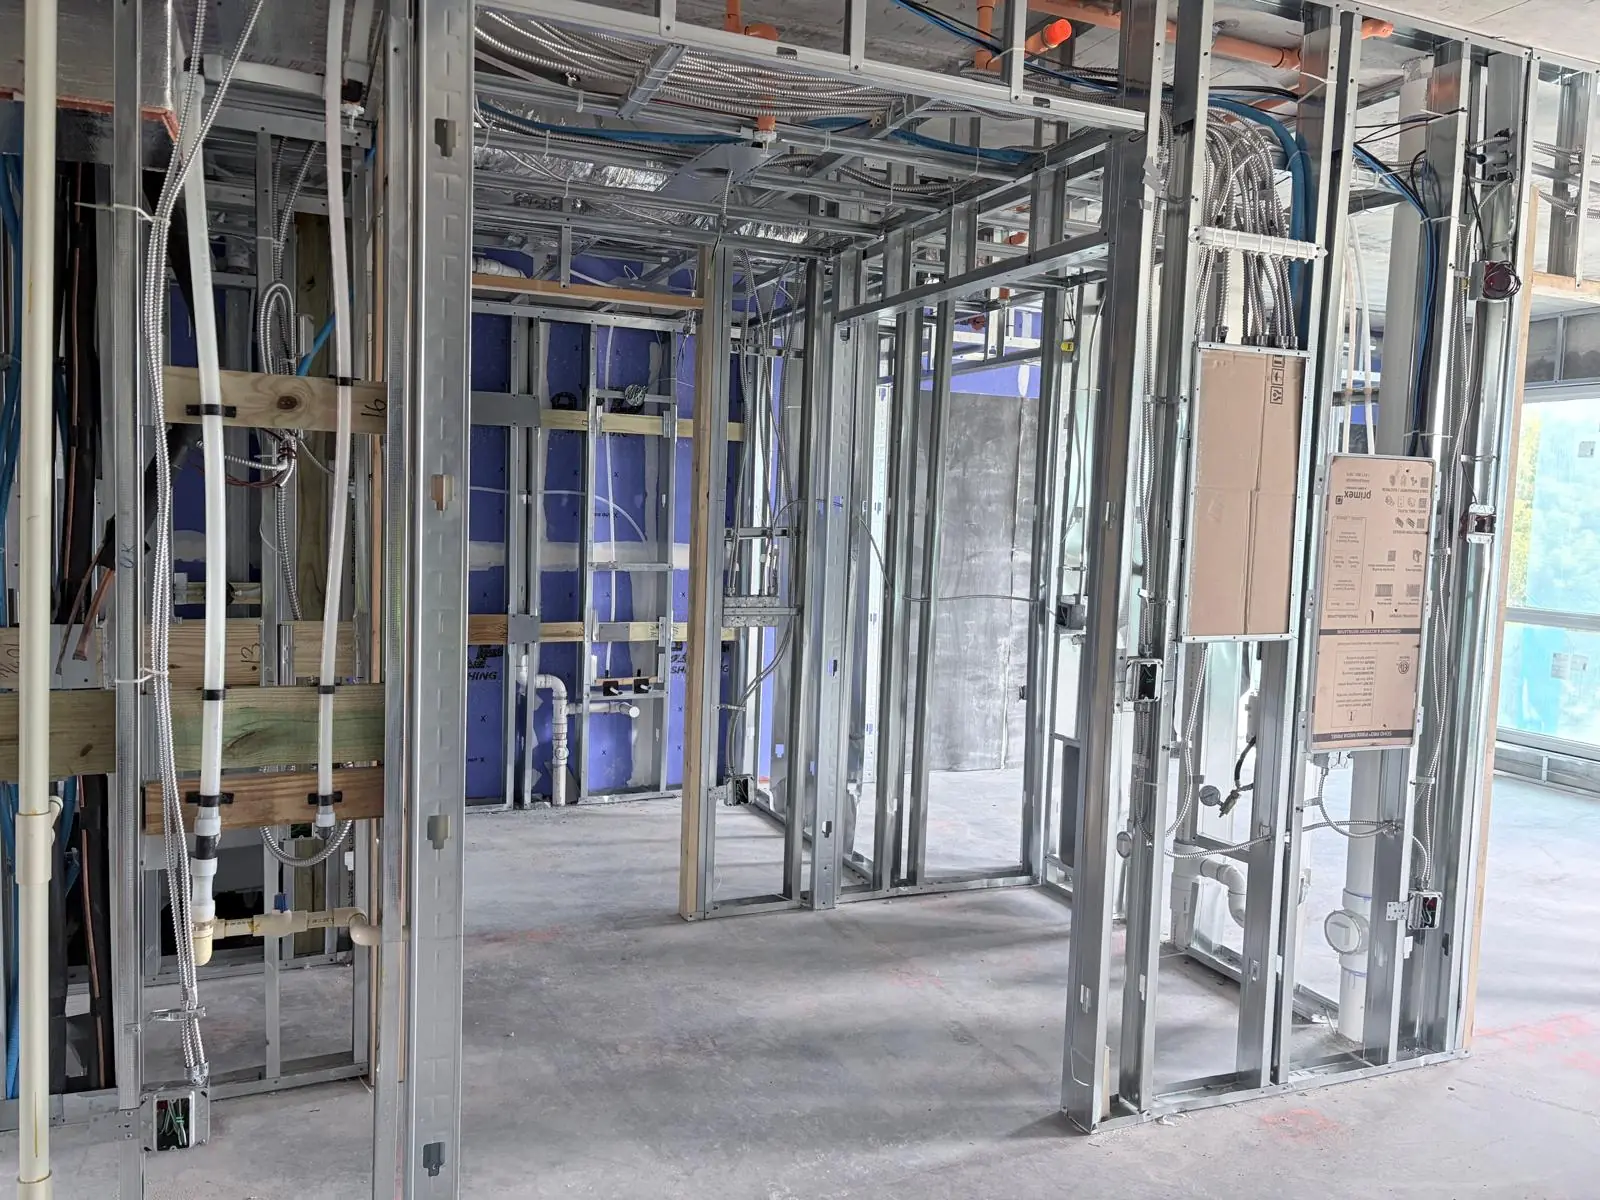
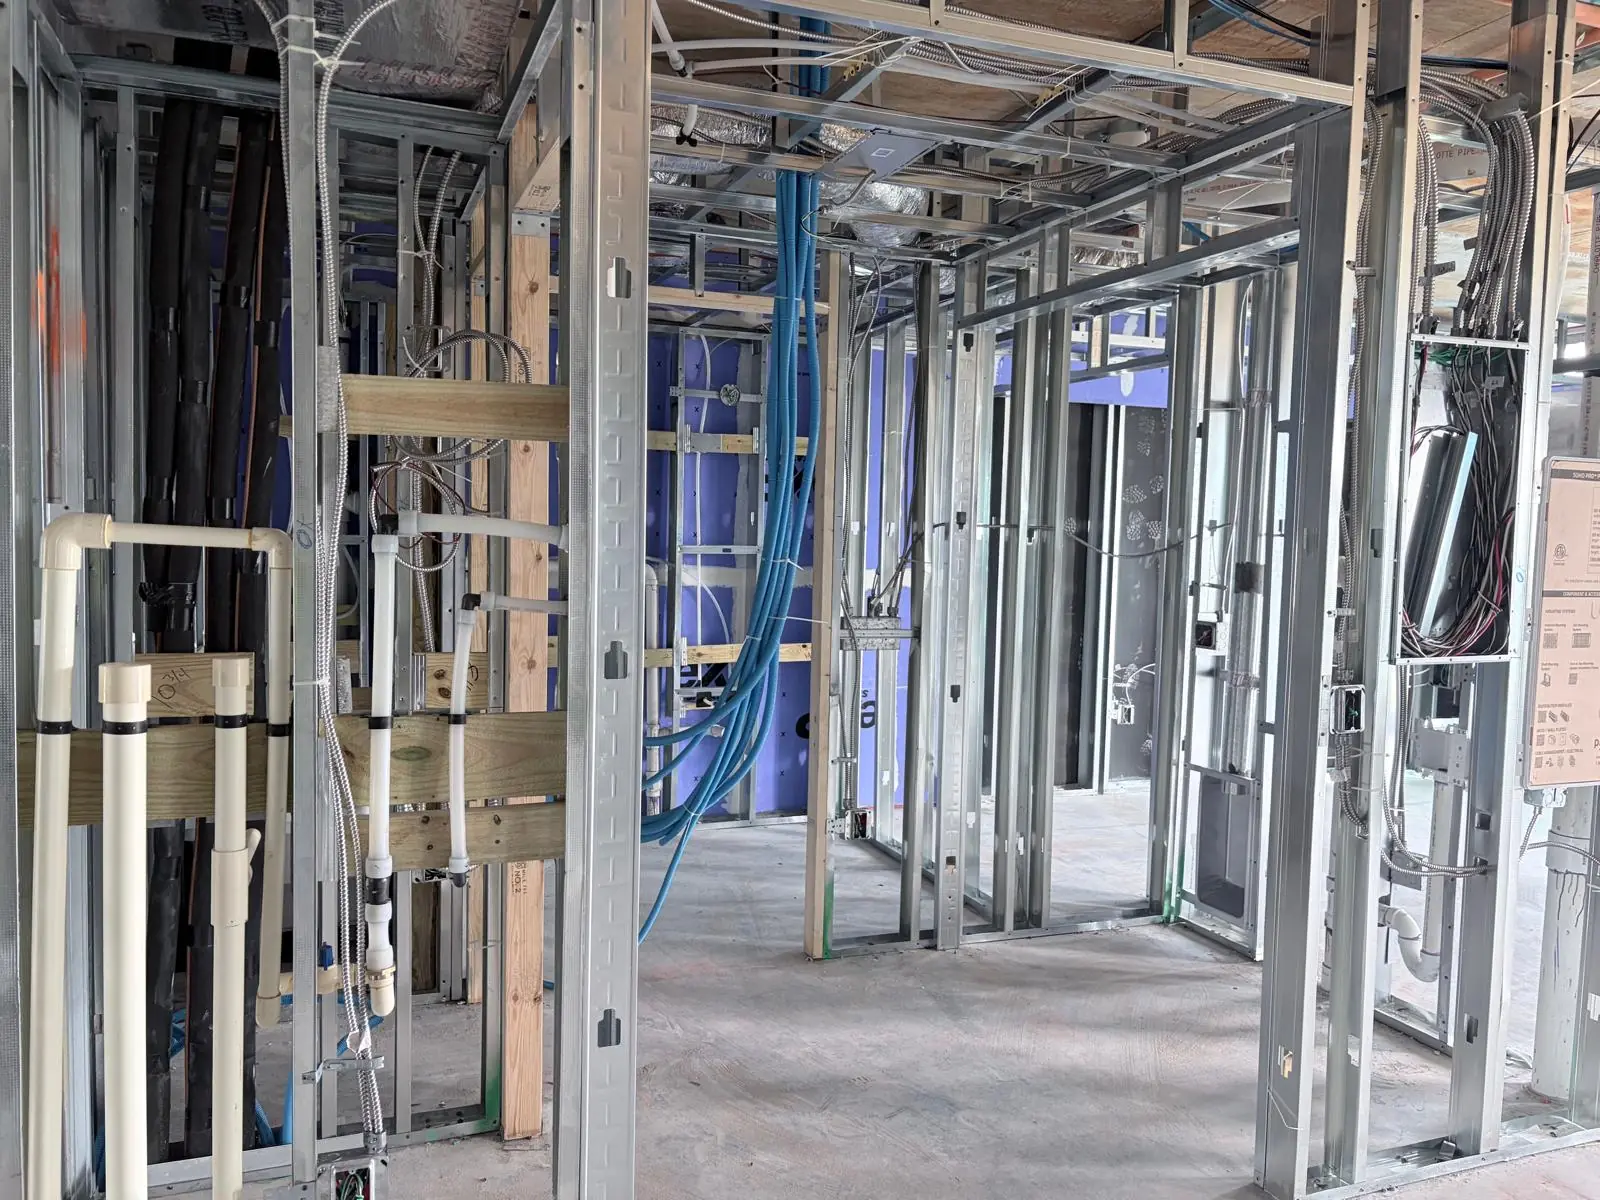
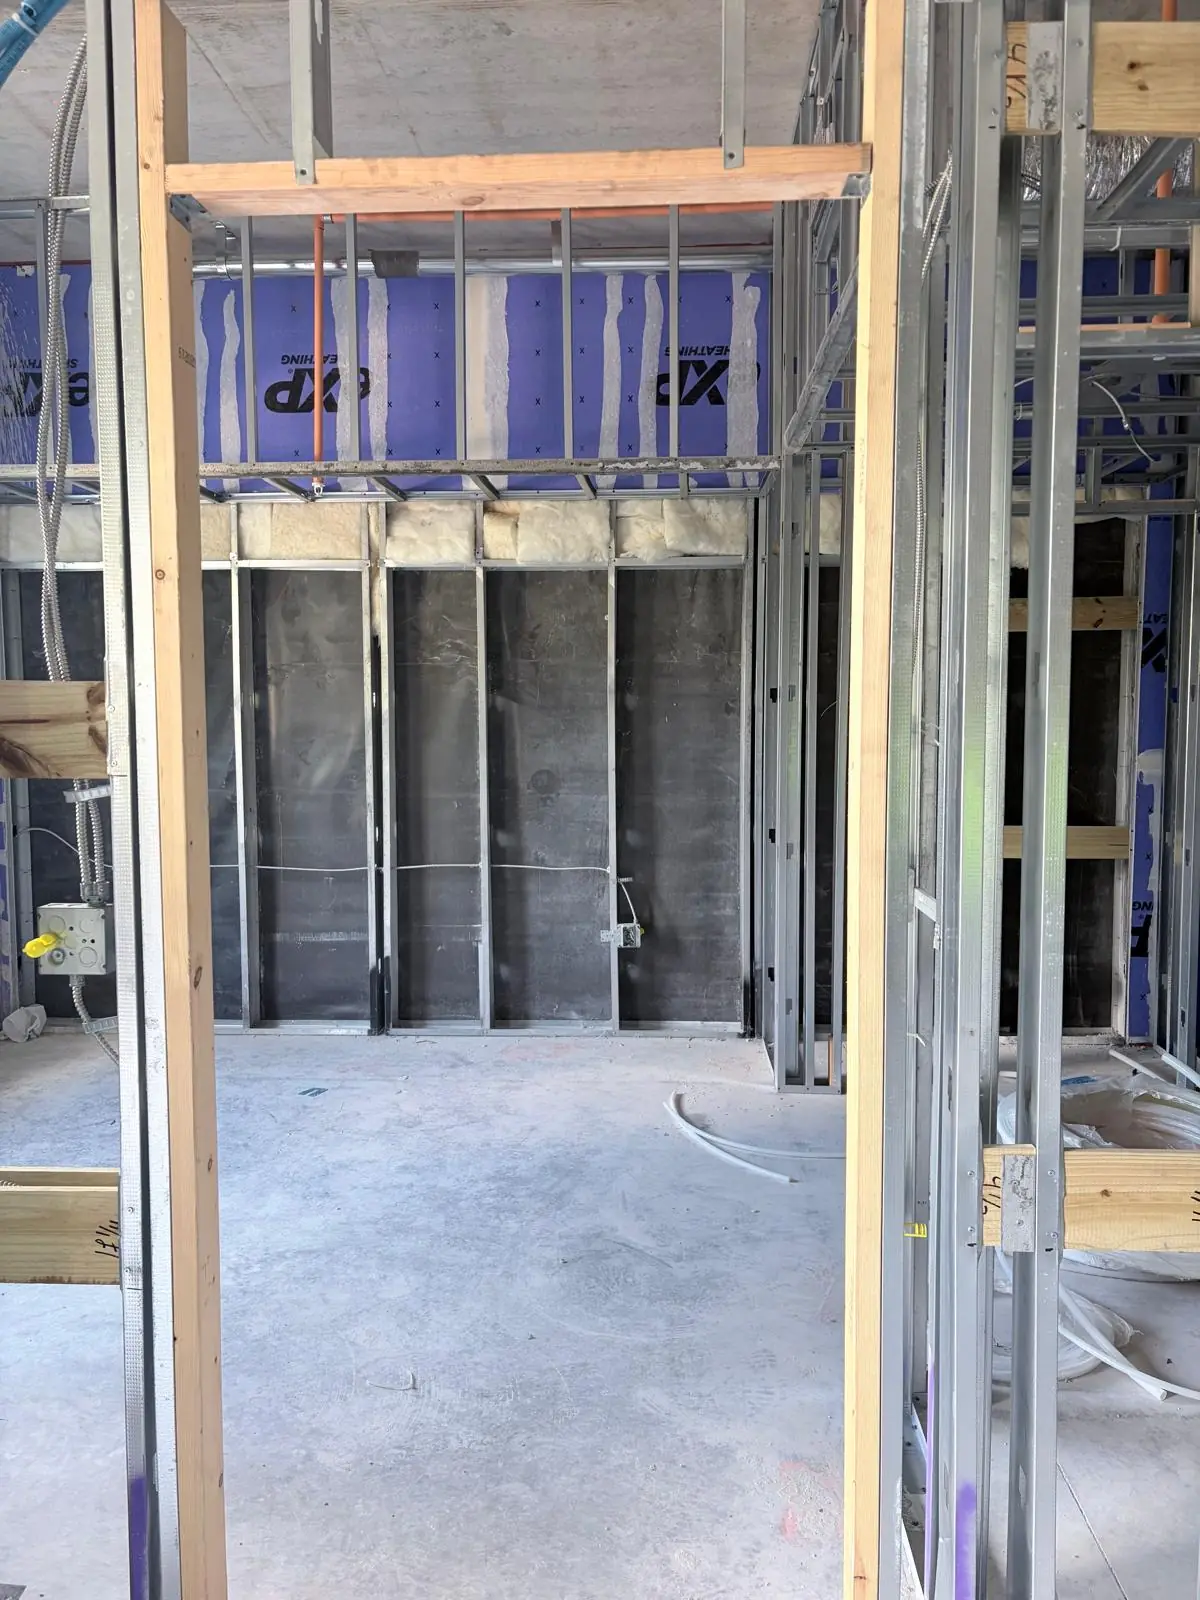
Before a single stud goes up, the walls of each unit are laid out on the slab following the plans: bedrooms, bathrooms, kitchens and closets. The bottom and top tracks are fastened along those lines, and the light-gauge metal studs are set into them at the spacing the plans call for. Metal studs are straight, light and do not rot or warp, which is why they are the standard for a residential building of this size.
2. Interior walls and partitions
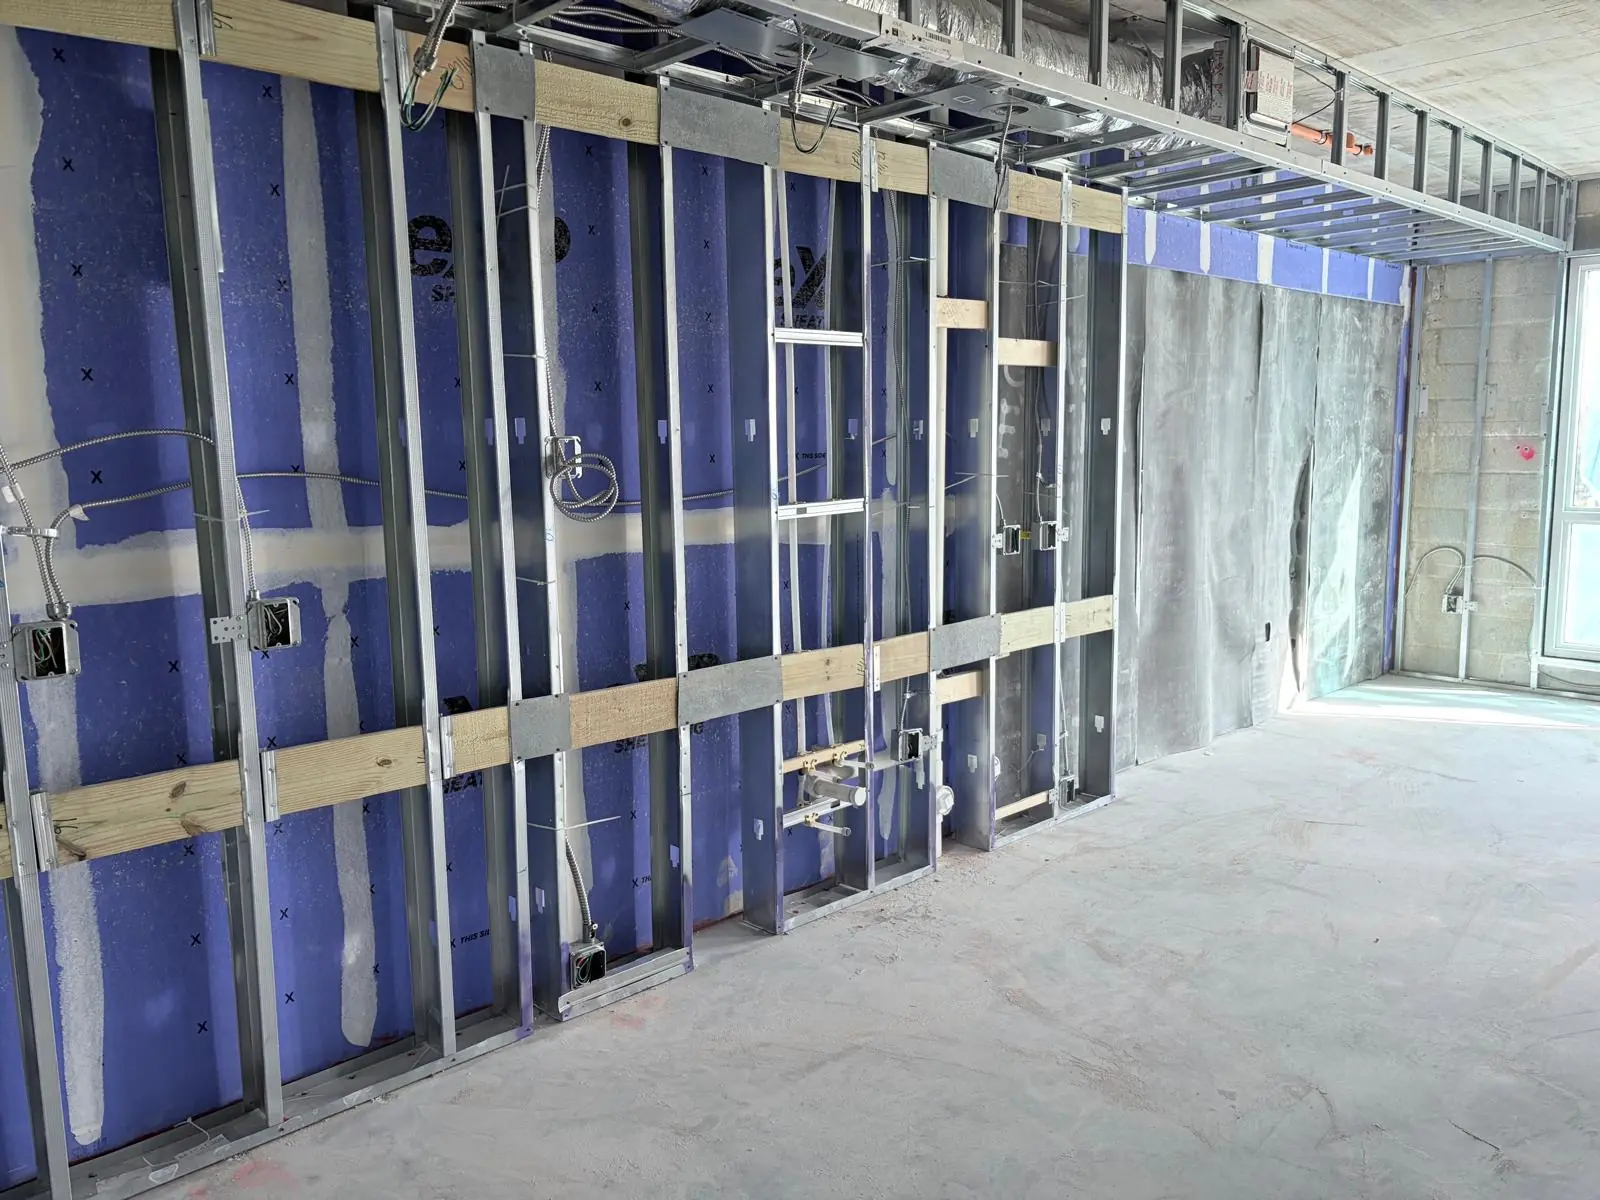
With the layout set, the crews frame the partitions room by room. The walls go up plumb and square so the drywall can sit flat later, and the openings for the plumbing and electrical are left where the other trades need them. Framing a whole floor this way keeps the building moving, because each trade can come in behind us without waiting.
3. Blocking and backing
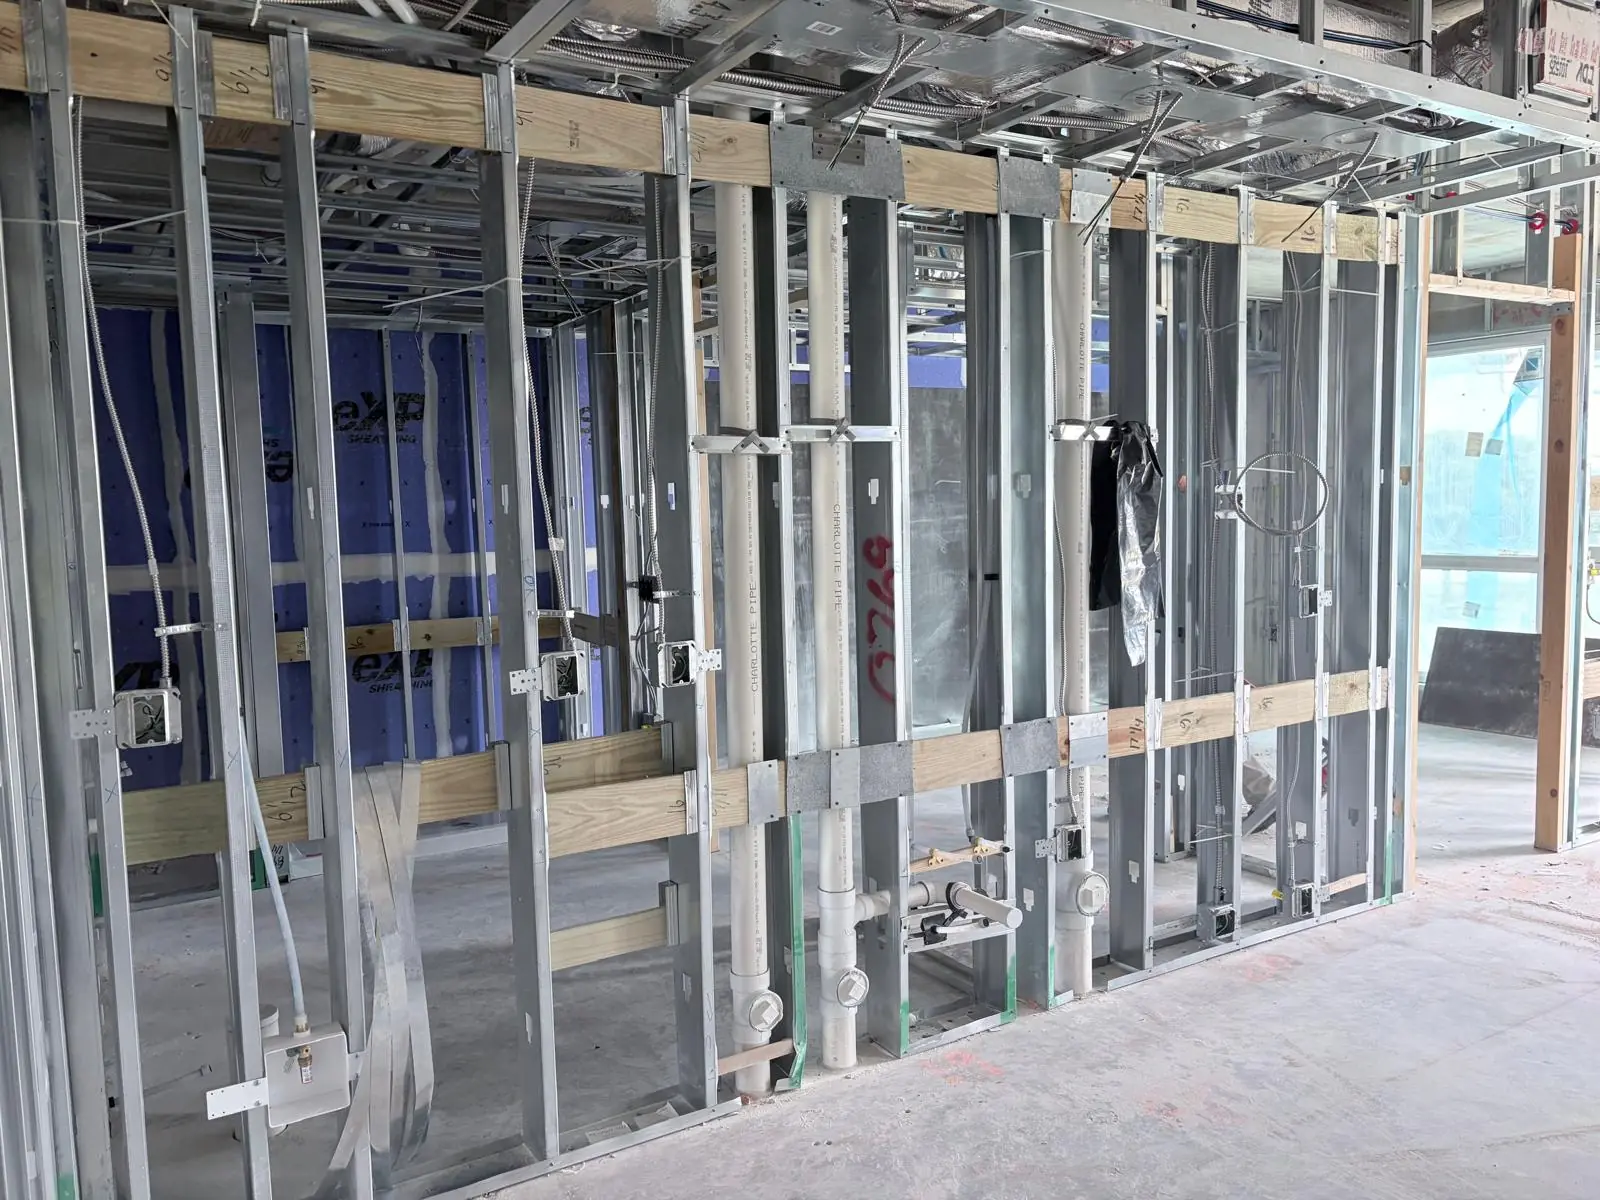
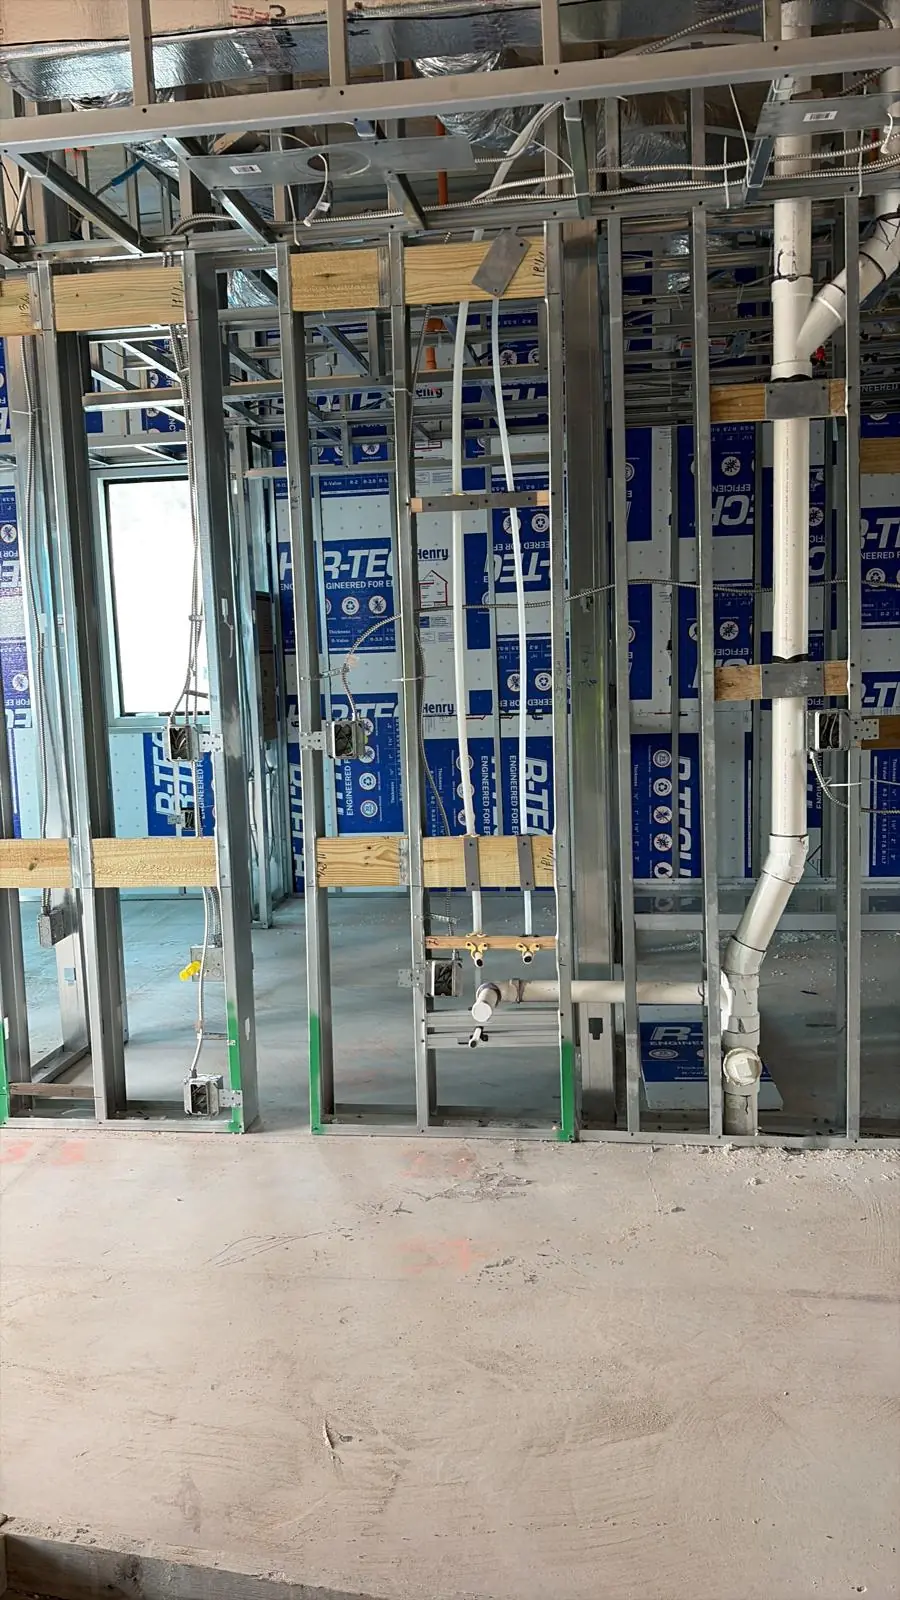
Kitchen cabinets, vanities, grab bars, TV mounts and towel bars all need something solid behind the drywall. That is the job of the wood blocking set between the studs at the right height. It is a small detail that is very hard to add later, so it goes in now, wall by wall, while the framing is still open.
4. Ceilings, soffits and the plumbing
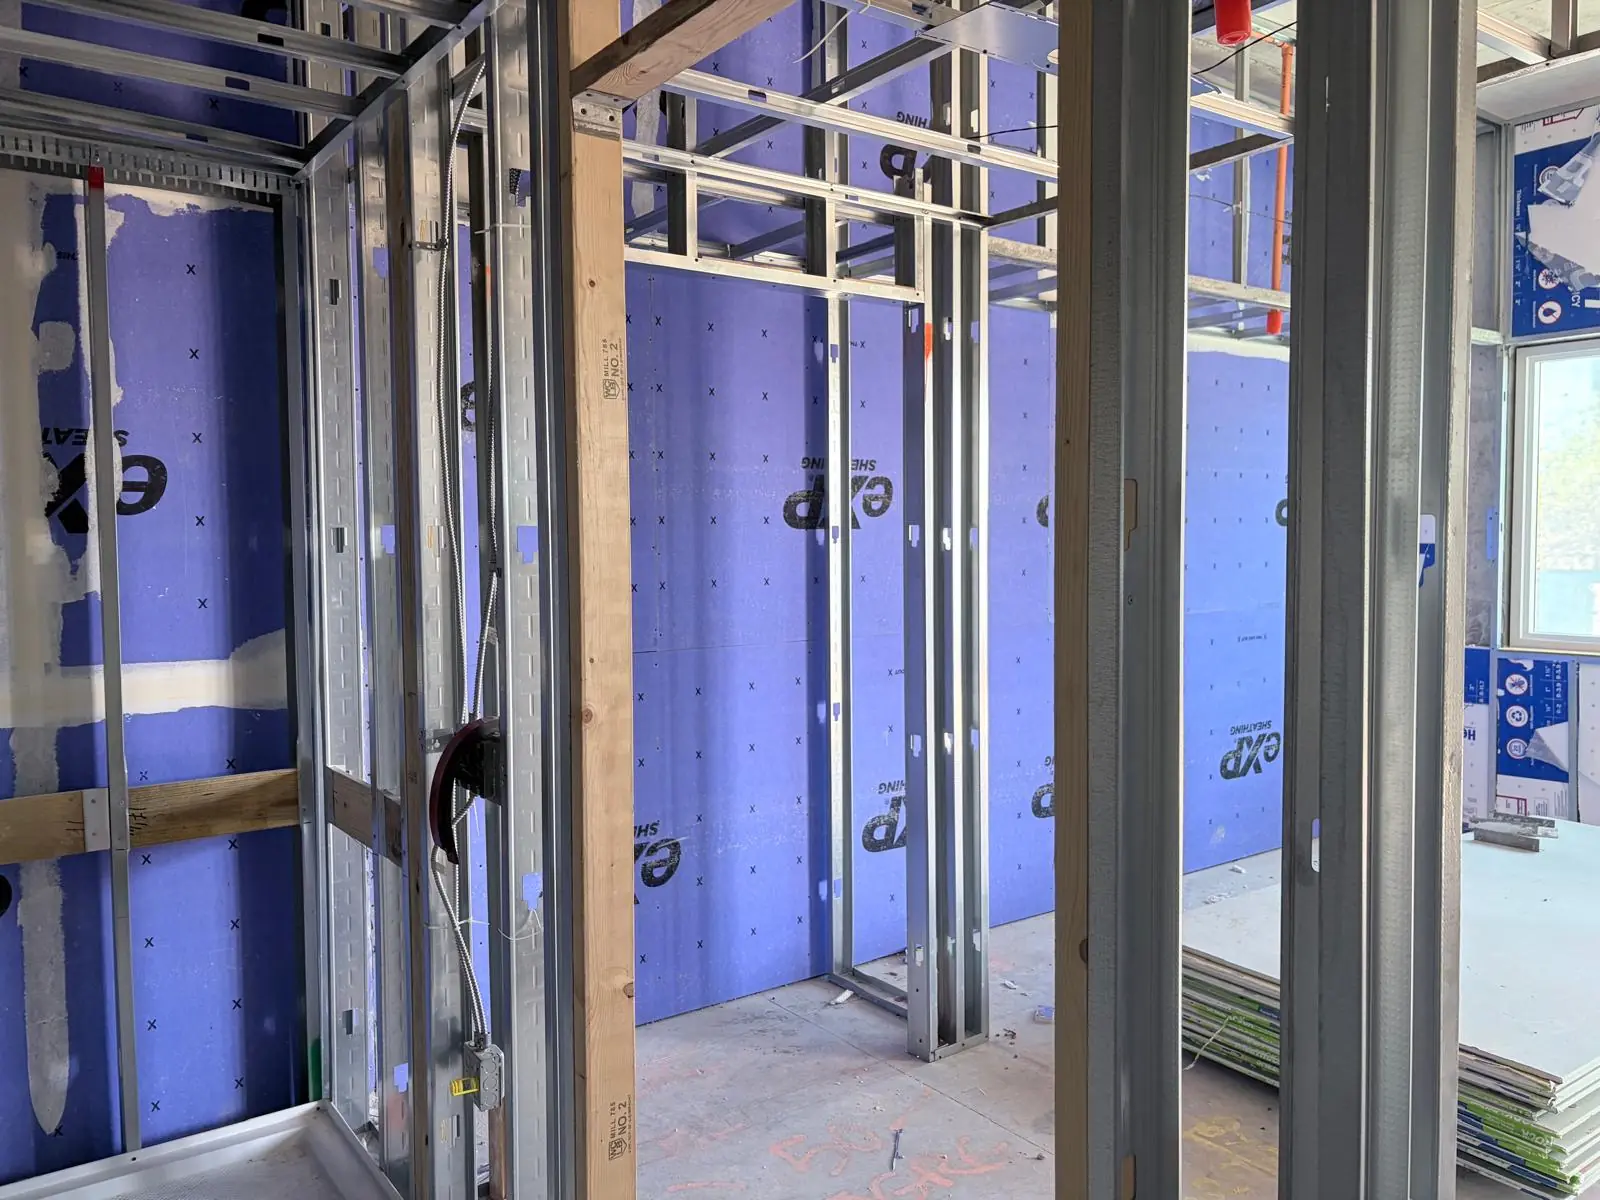
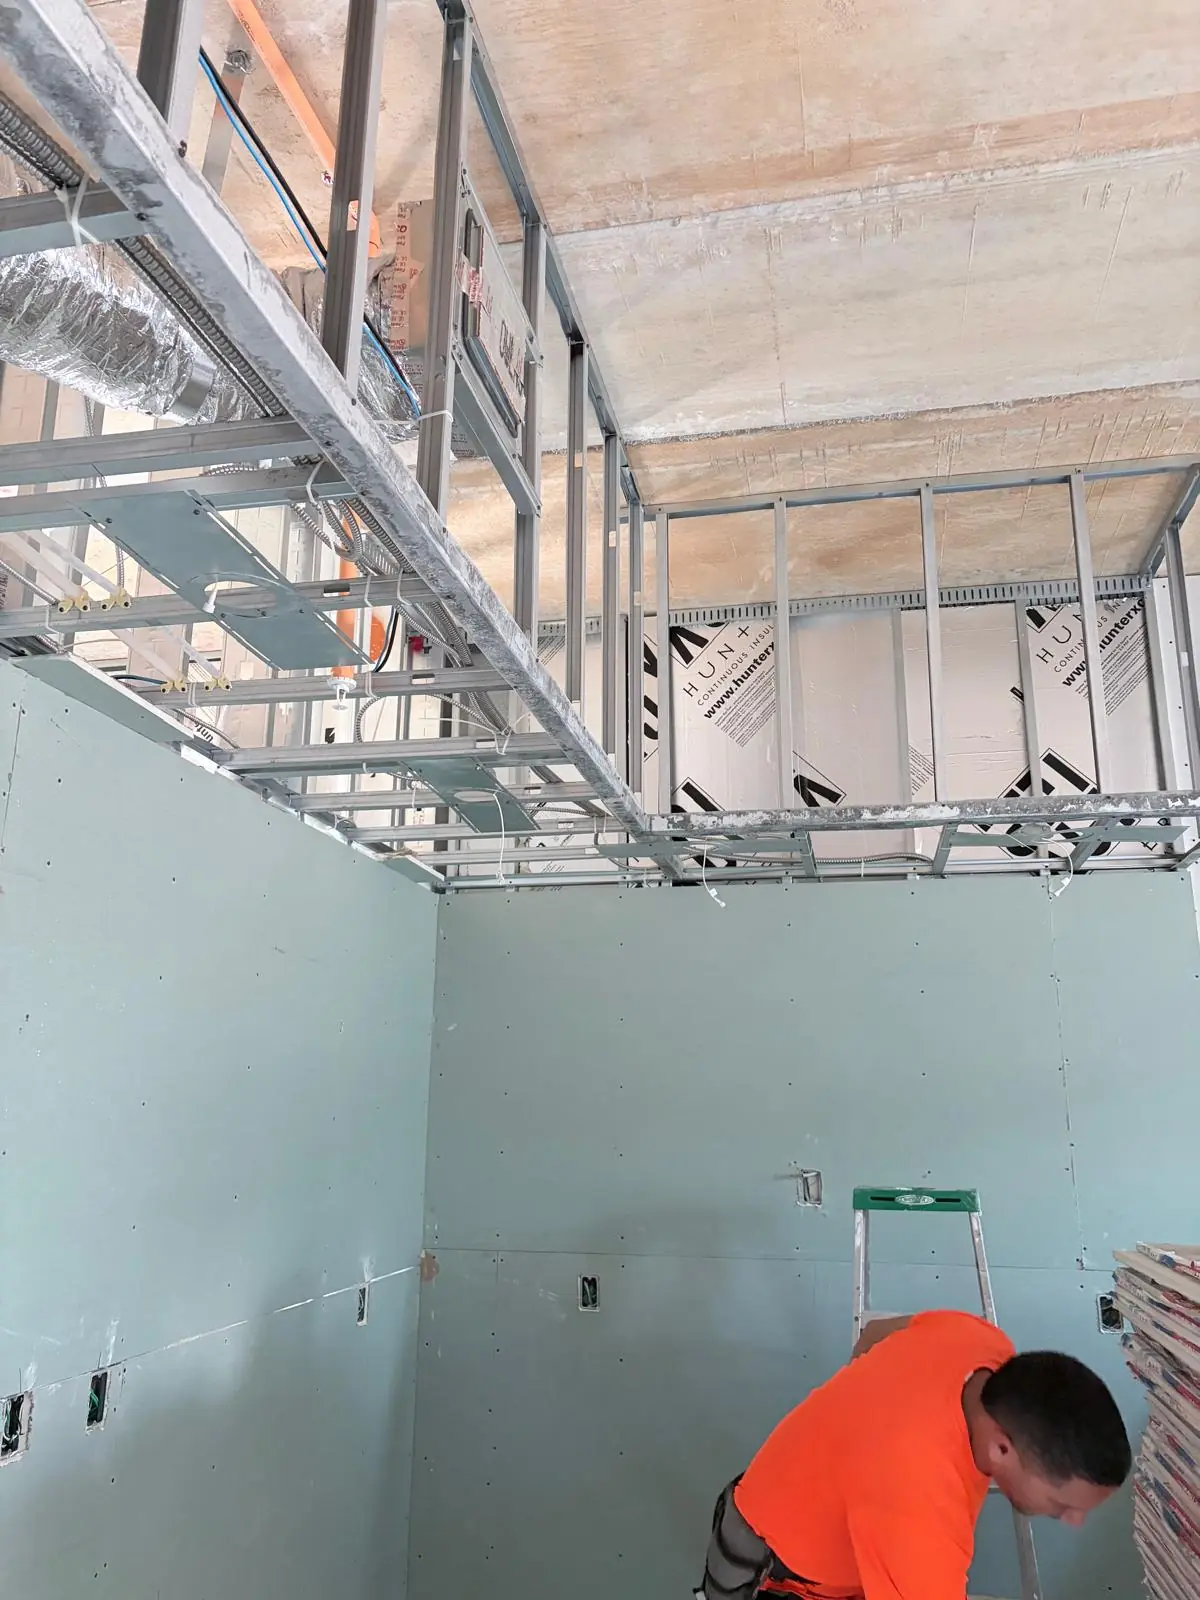
Overhead, the soffits and ceiling framing hang from the structure to hide the ductwork and pipes. Around the plumbing risers, the framing is built to wrap the pipes cleanly so they disappear once the board goes on. Coordinating this with the plumbers and electricians is a big part of framing a multi-family building.
5. Material ready on every floor
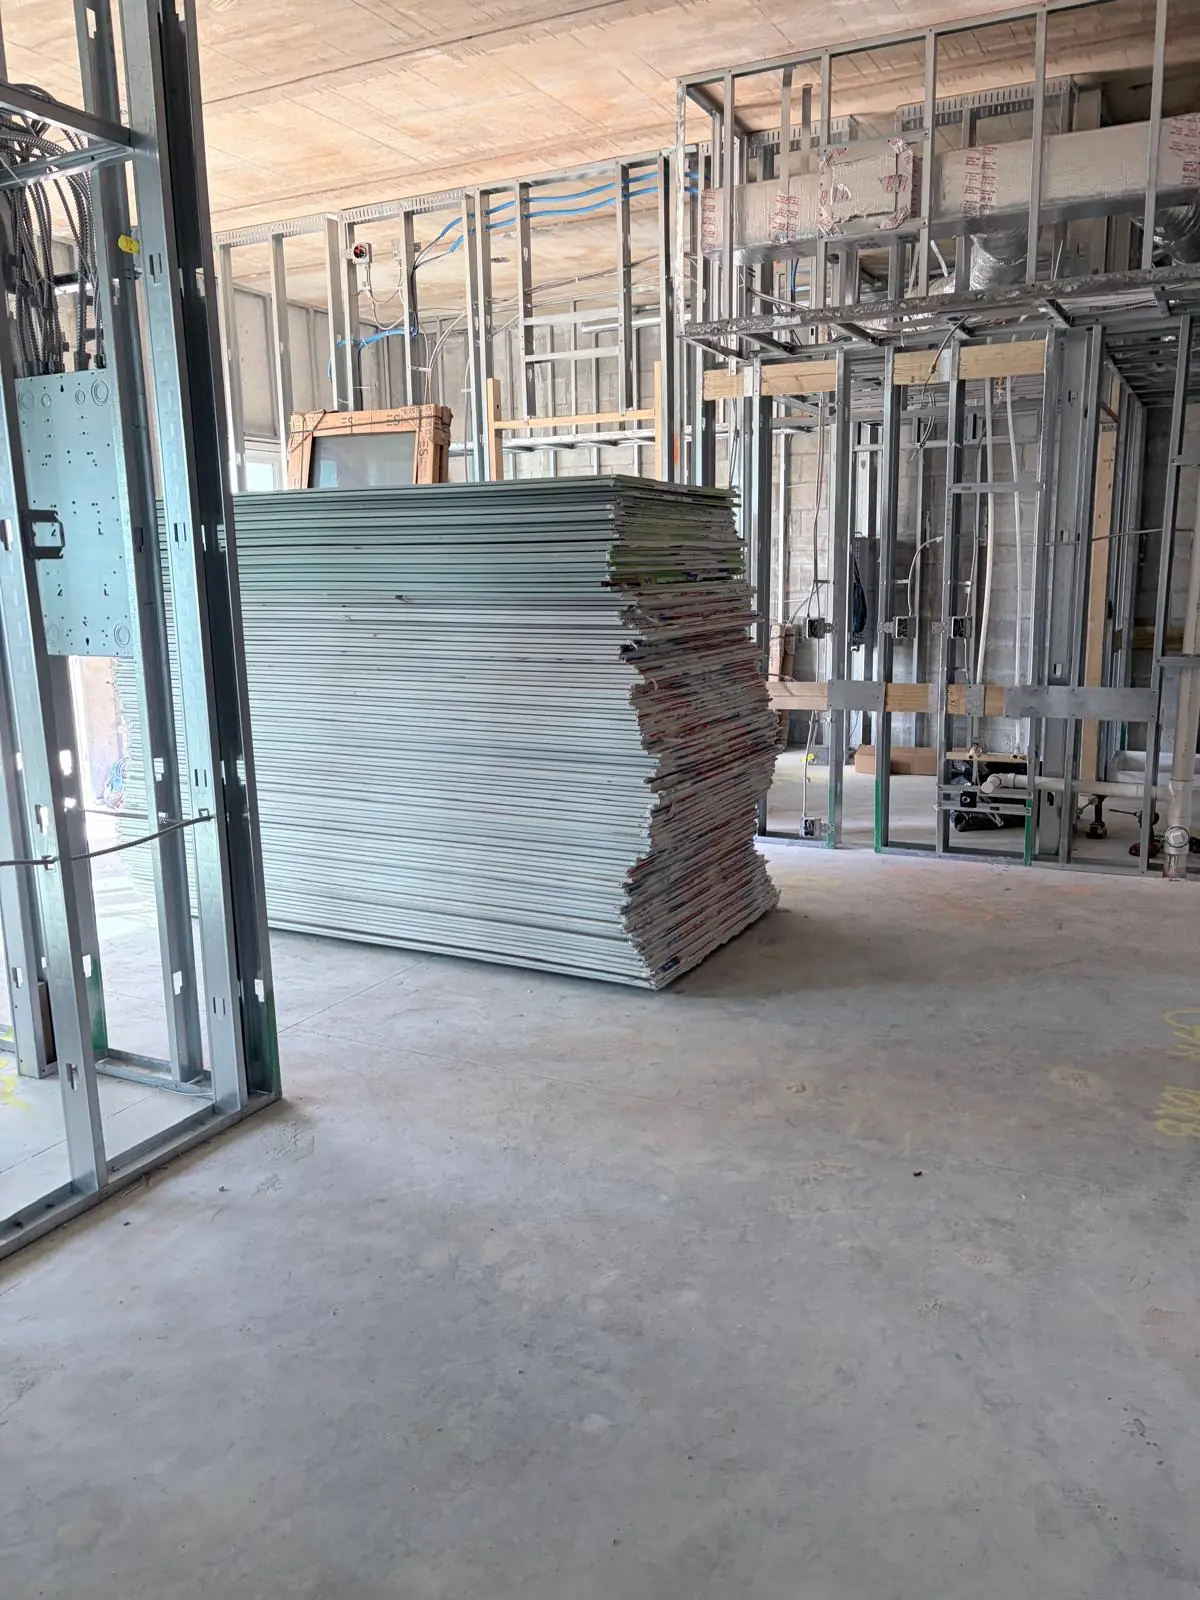
To keep the crews productive, studs, track and board are staged on each floor before they are needed. Openings get their headers and blocking, and the framed walls are checked before the next stage starts.
What comes next
Once the framing is checked, the walls get their sheathing and insulation. See it in Part 2.
Need framing, drywall or stucco on your next multi-family project in South Florida? Talk to 4Tress Luxury Homes.