This is Part 3 of our Homestead Gardens series, the 162-unit multi-family residential community (Phase 1) in Homestead, FL, where 4Tress Construction handles the framing, drywall, finishing and stucco. The units were framed in Part 1 and sheathed and insulated in Part 2. Now the drywall goes up and the rooms start to look like homes.
1. Hanging the board
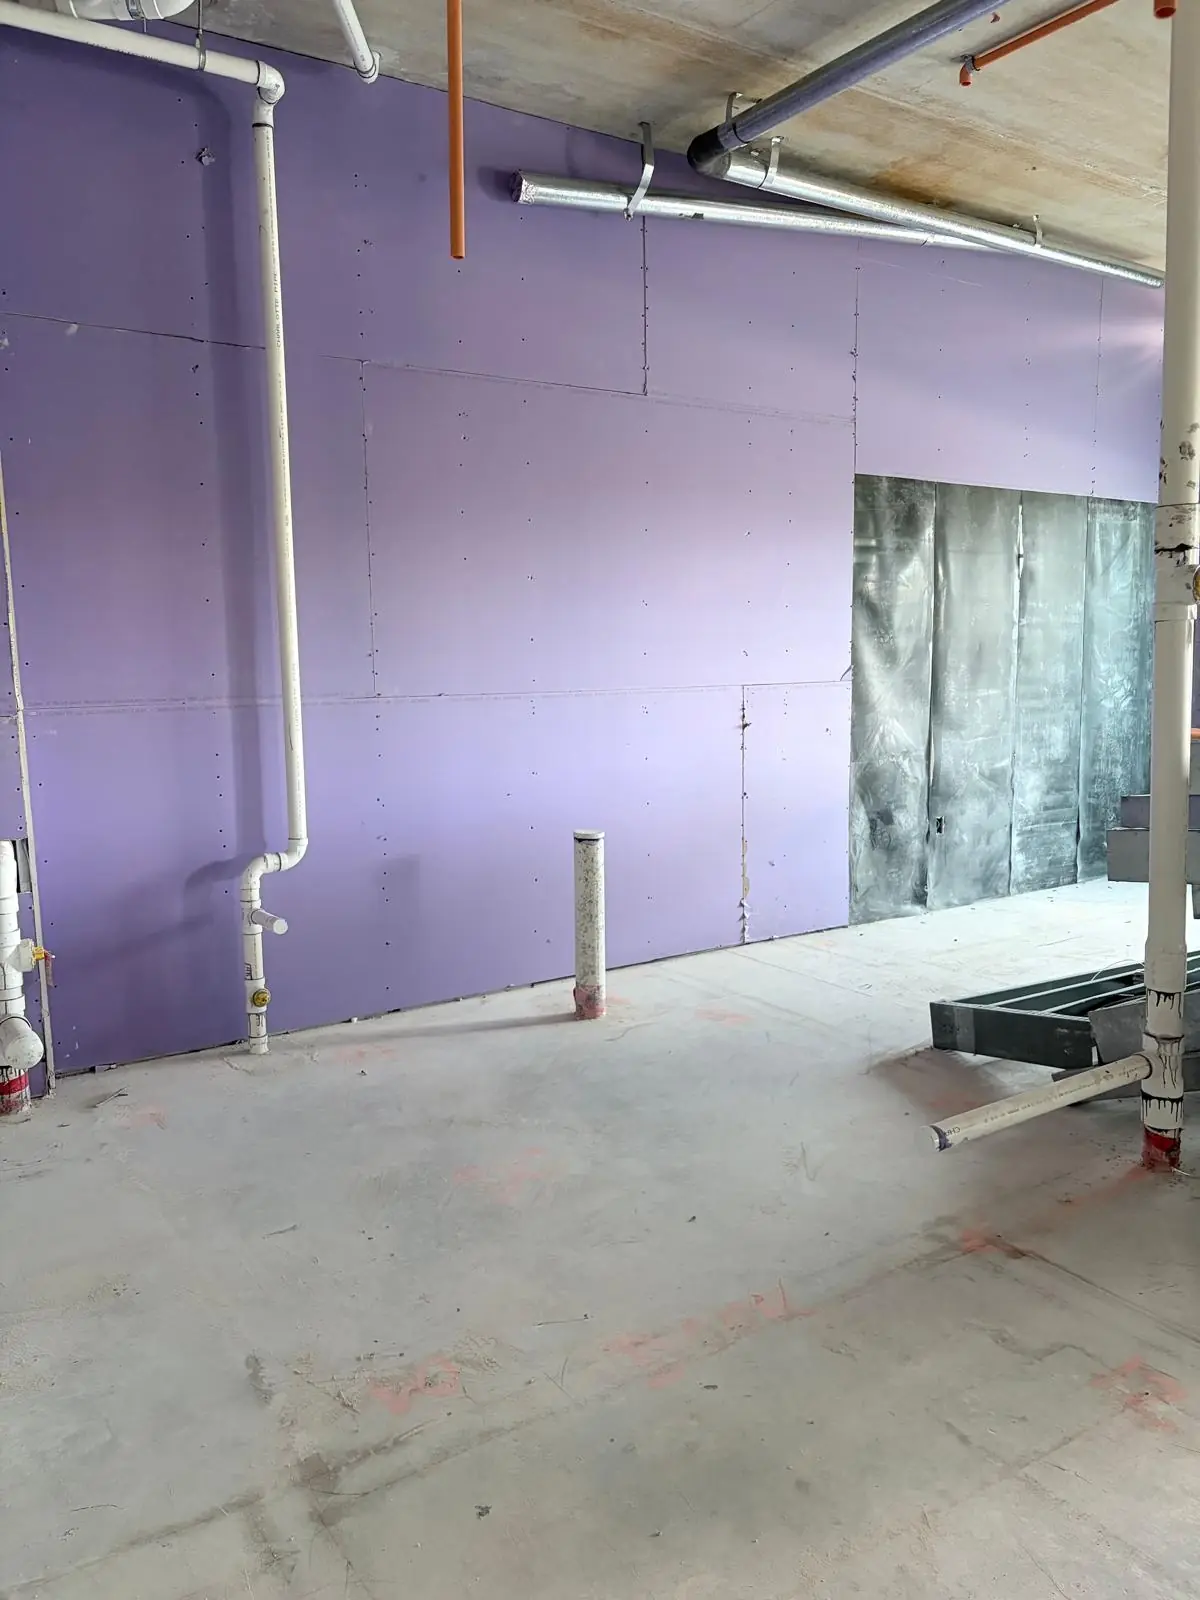
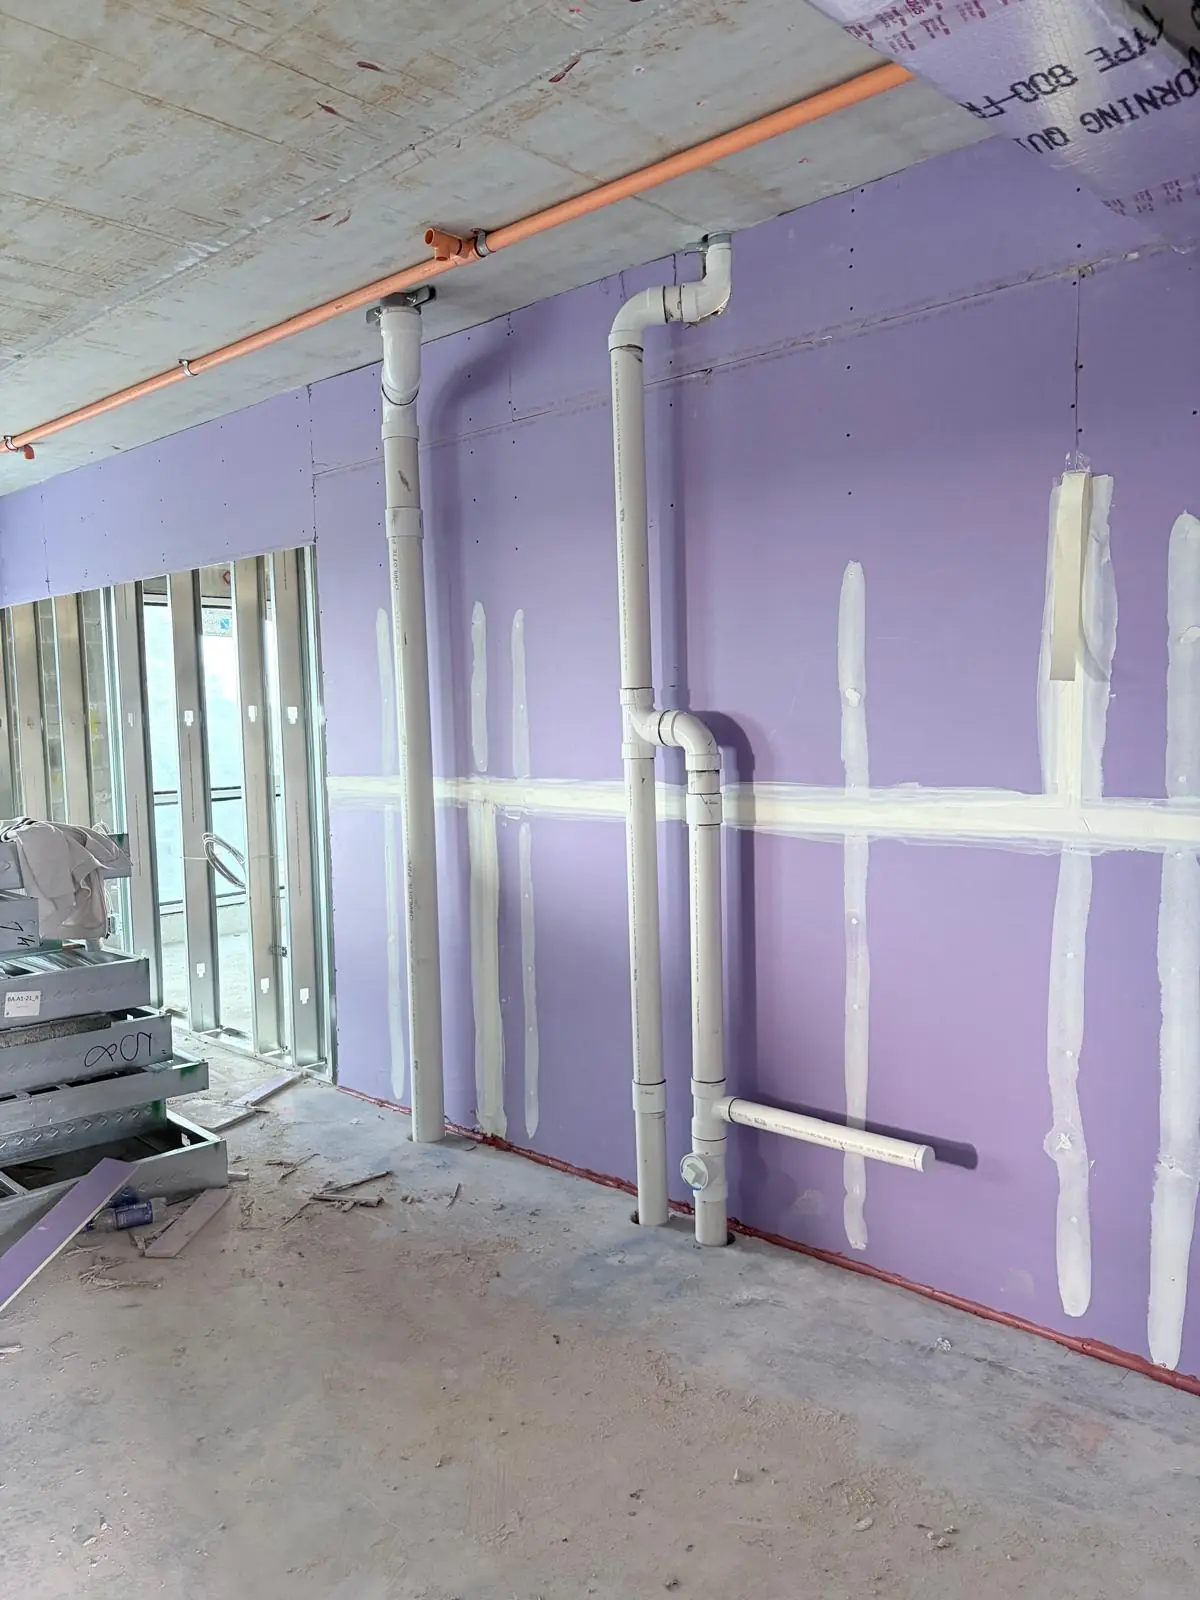
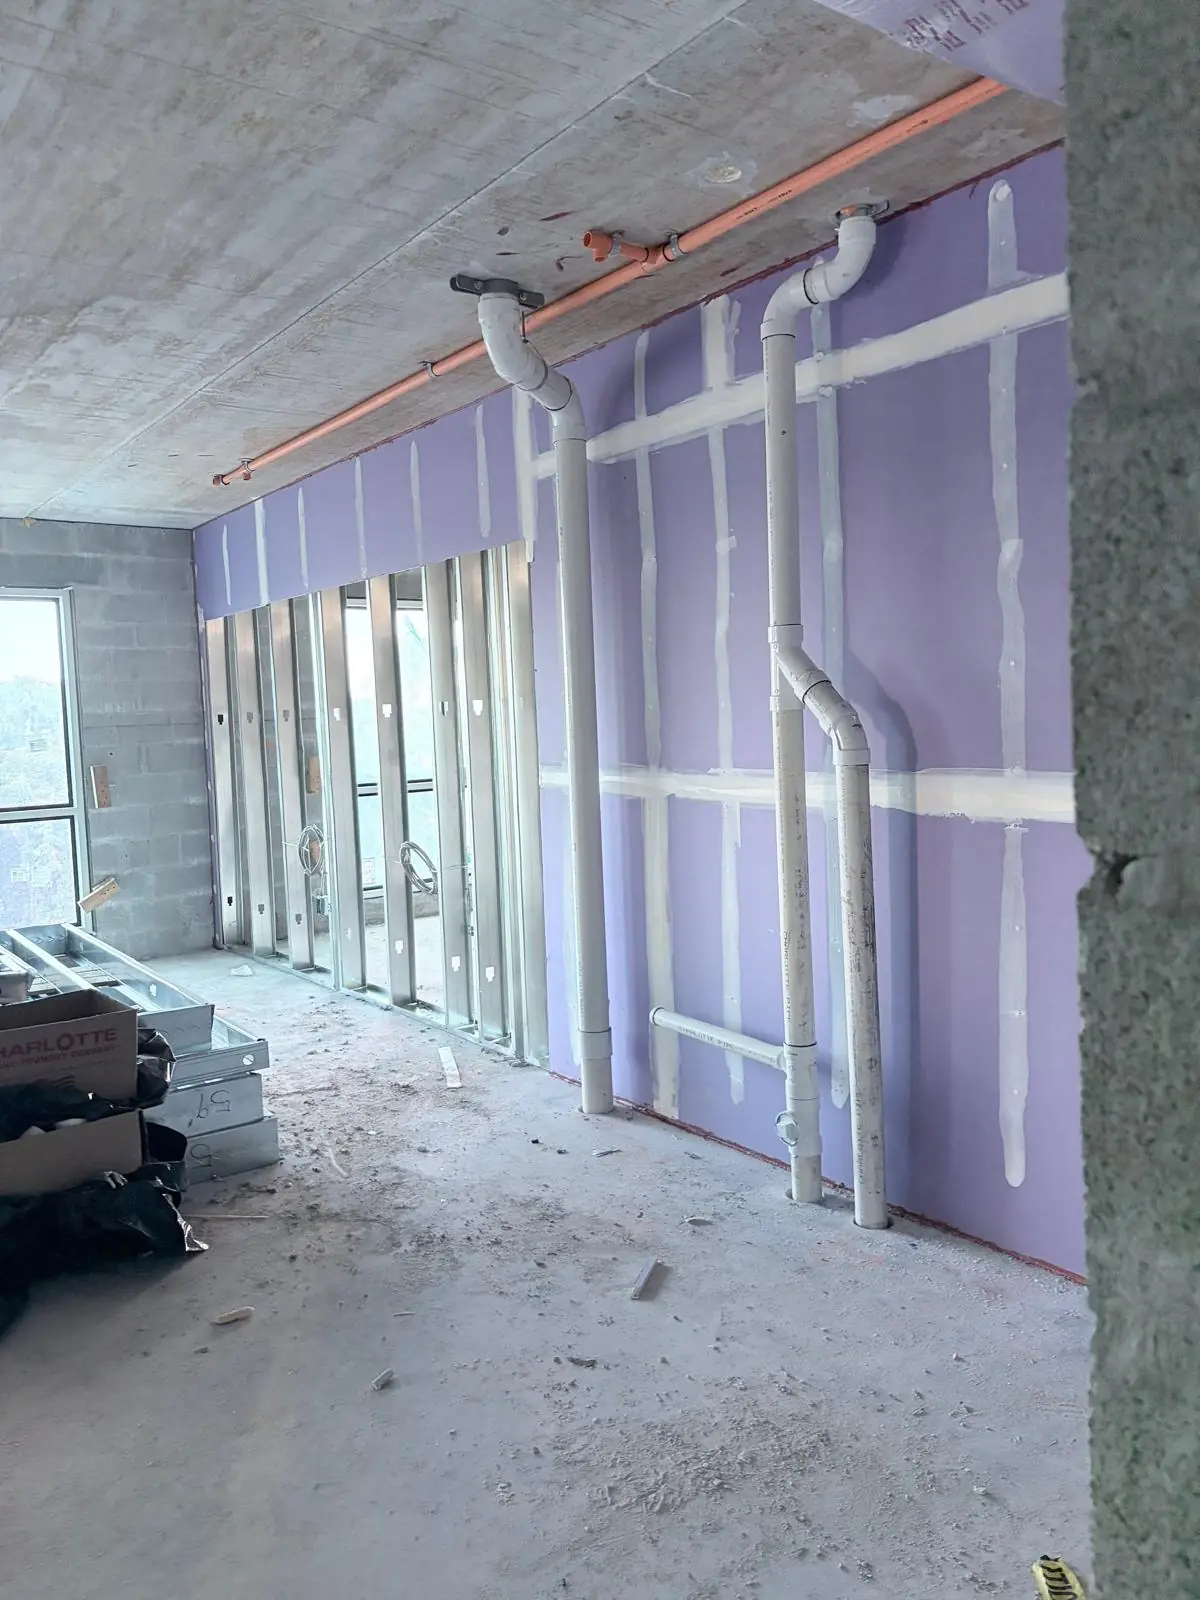
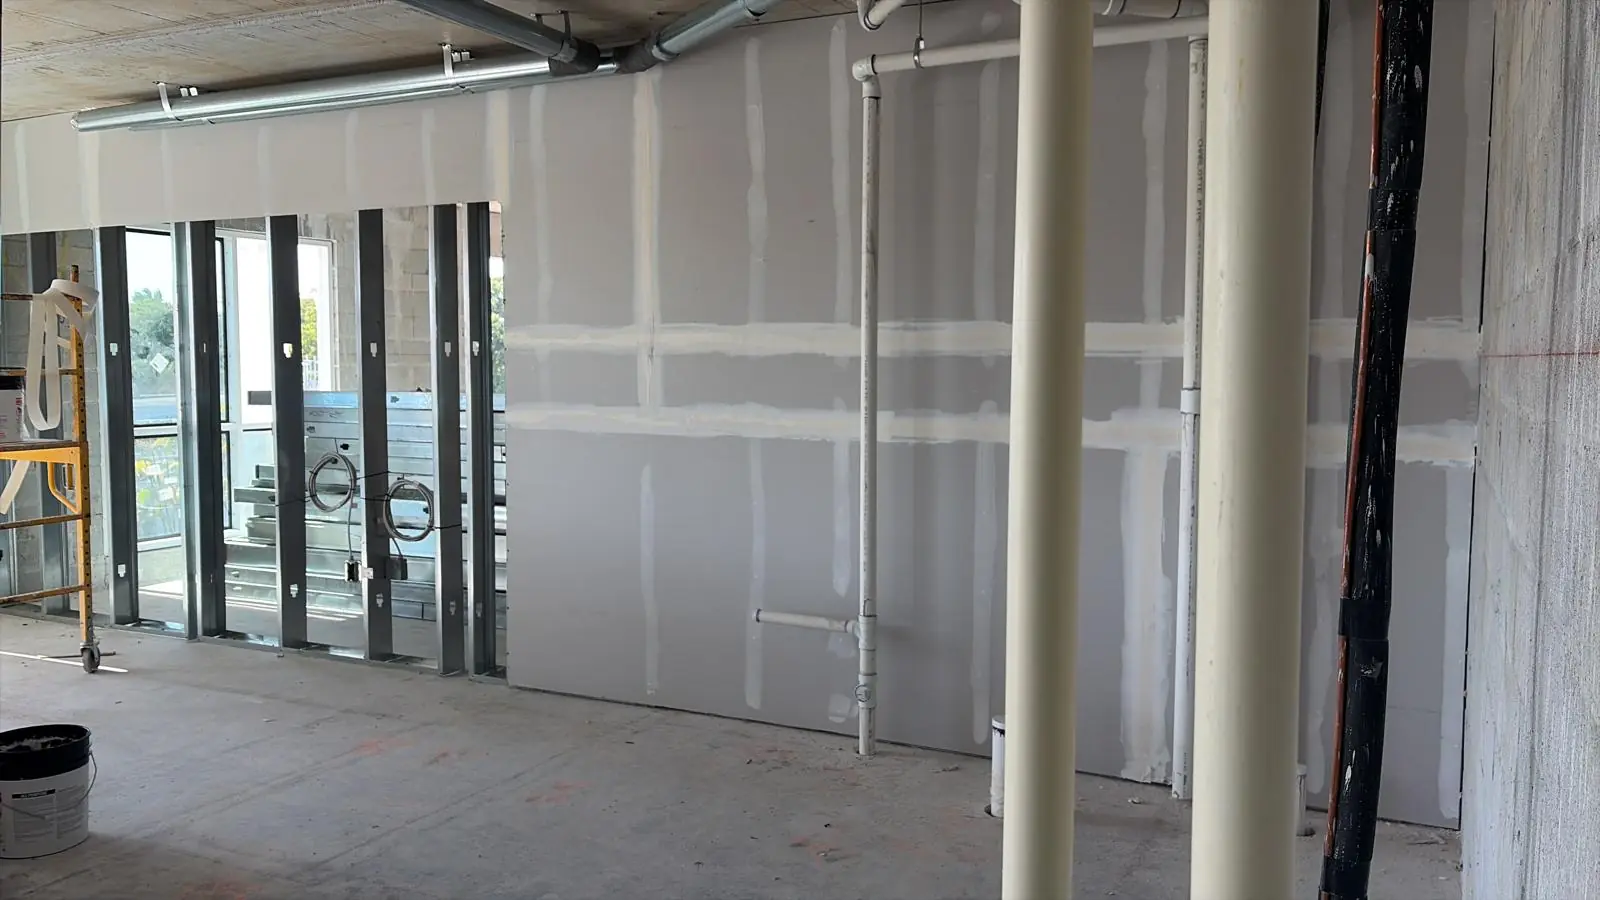
The walls are hung with moisture- and mold-resistant drywall, the purple board you see in the photos. In a humid climate like Homestead's, it protects the walls in kitchens, bathrooms and every room of the unit. The board goes up tight to the ceiling, with the joints planned to keep seams to a minimum.
2. Ceilings and openings
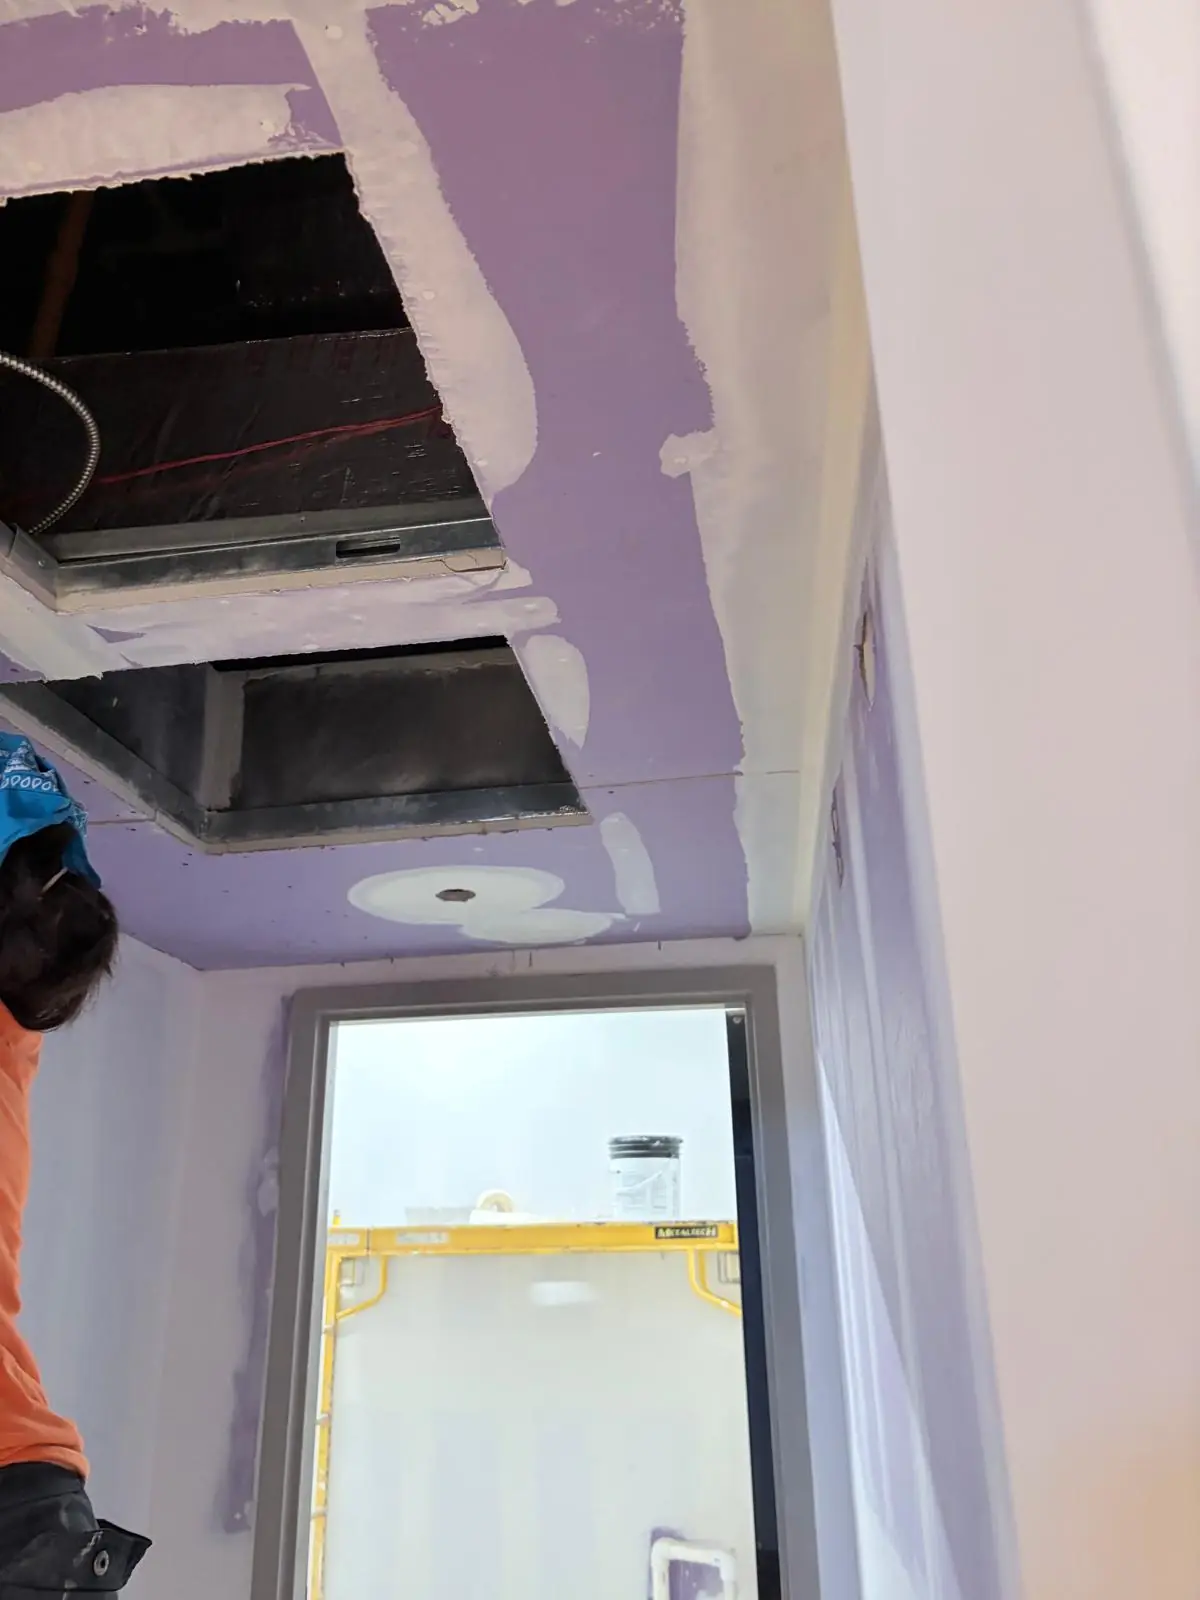
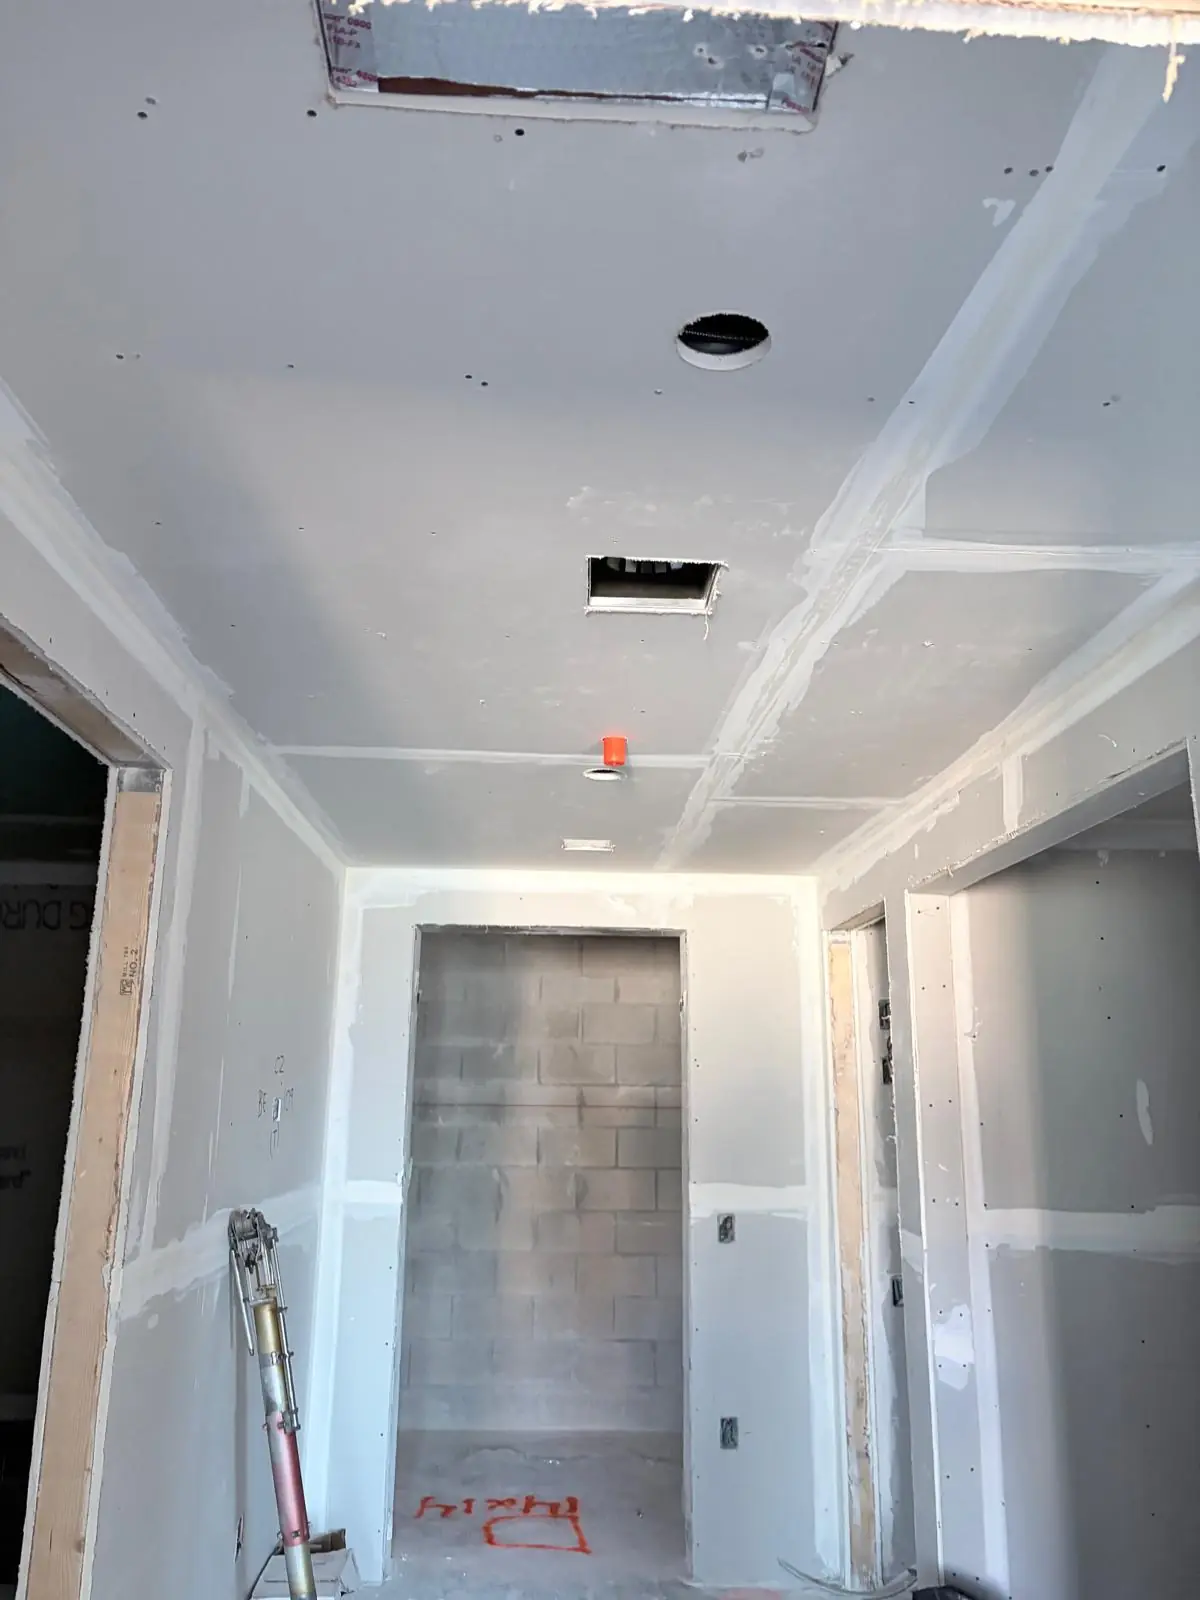
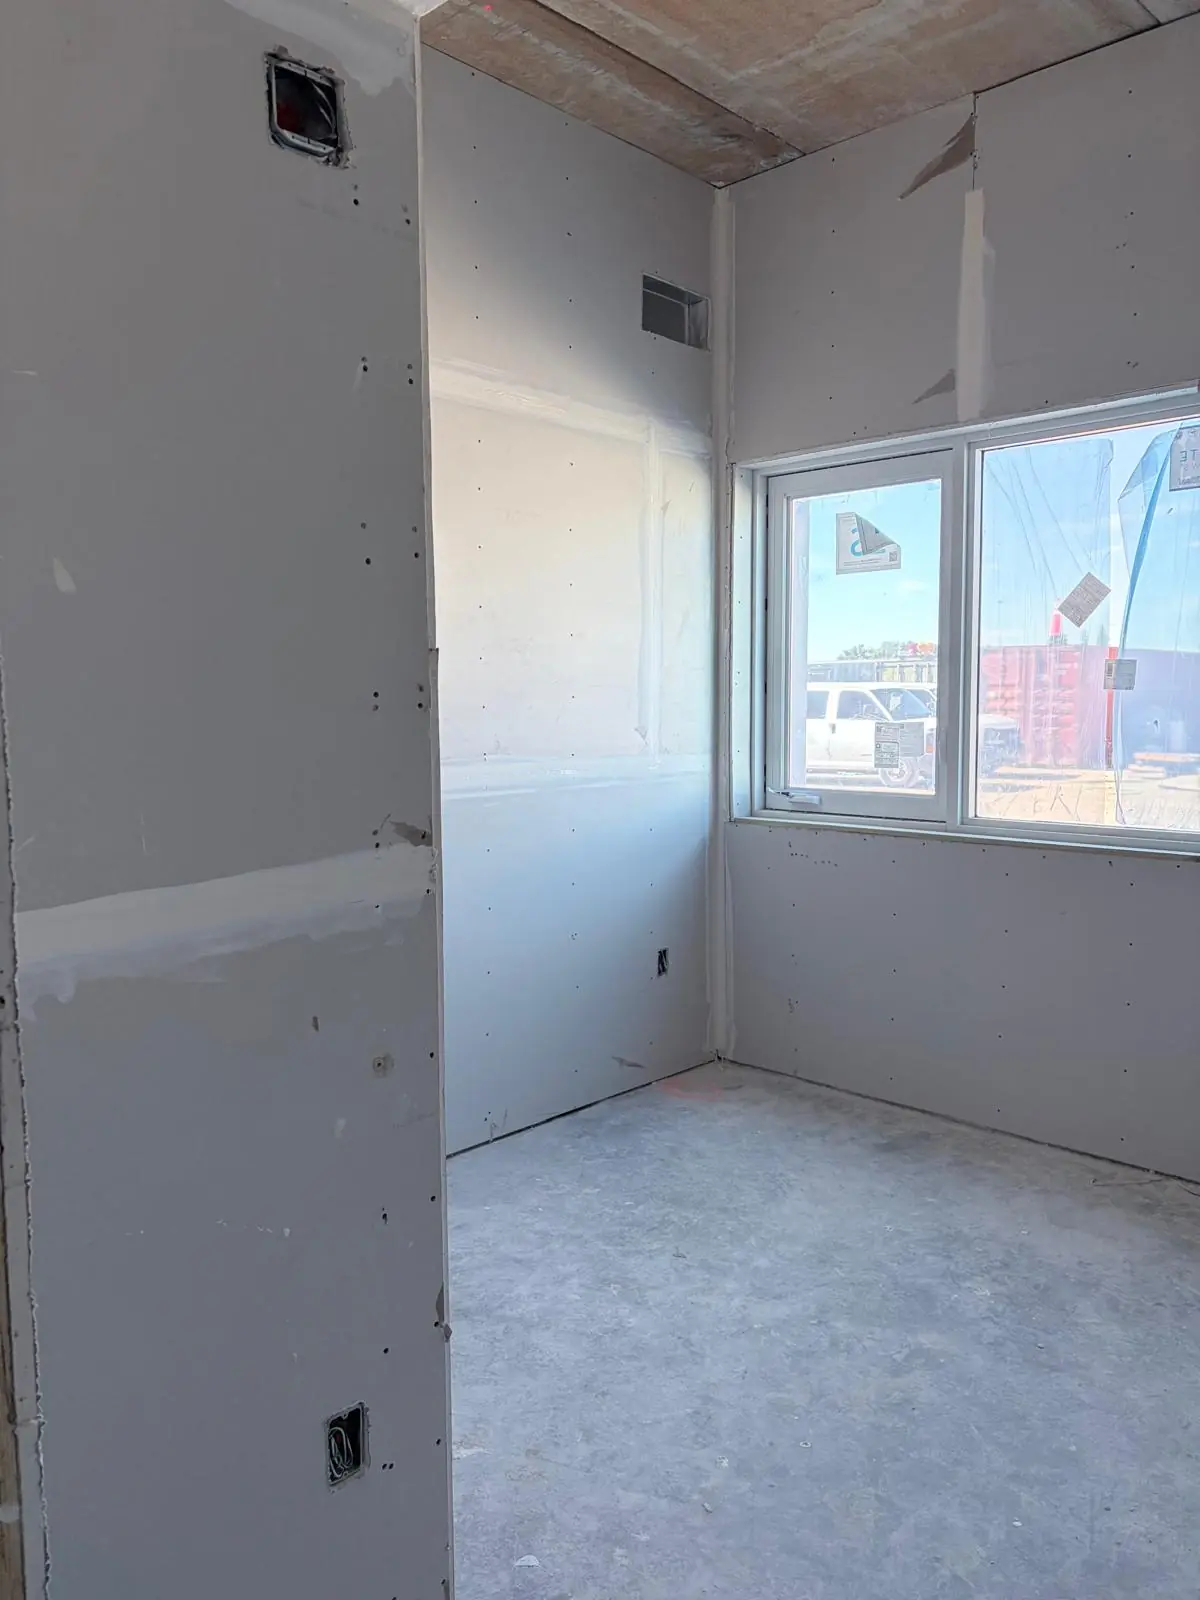
The ceilings are hung next, with the openings for the vents, lights and mechanical access cut in place. Hallways and soffits get the same attention, so every line stays straight from one end of the corridor to the other.
3. Taping and finishing
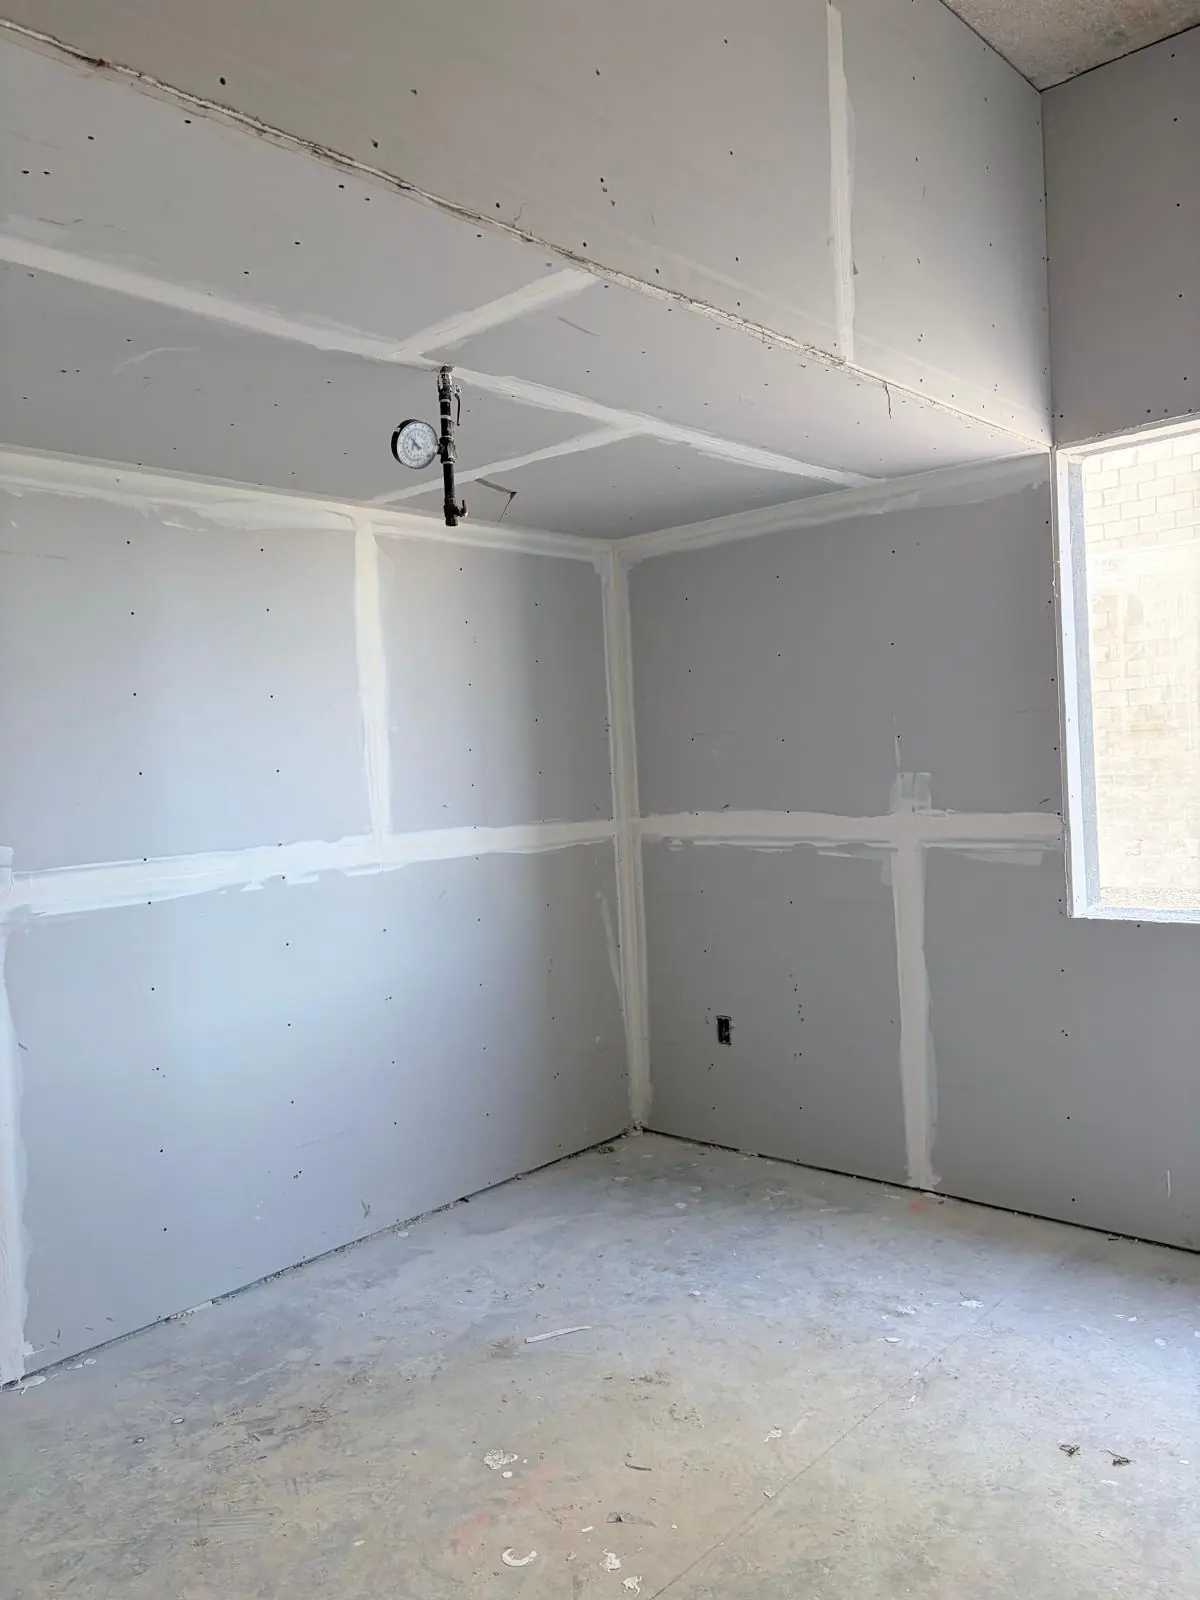
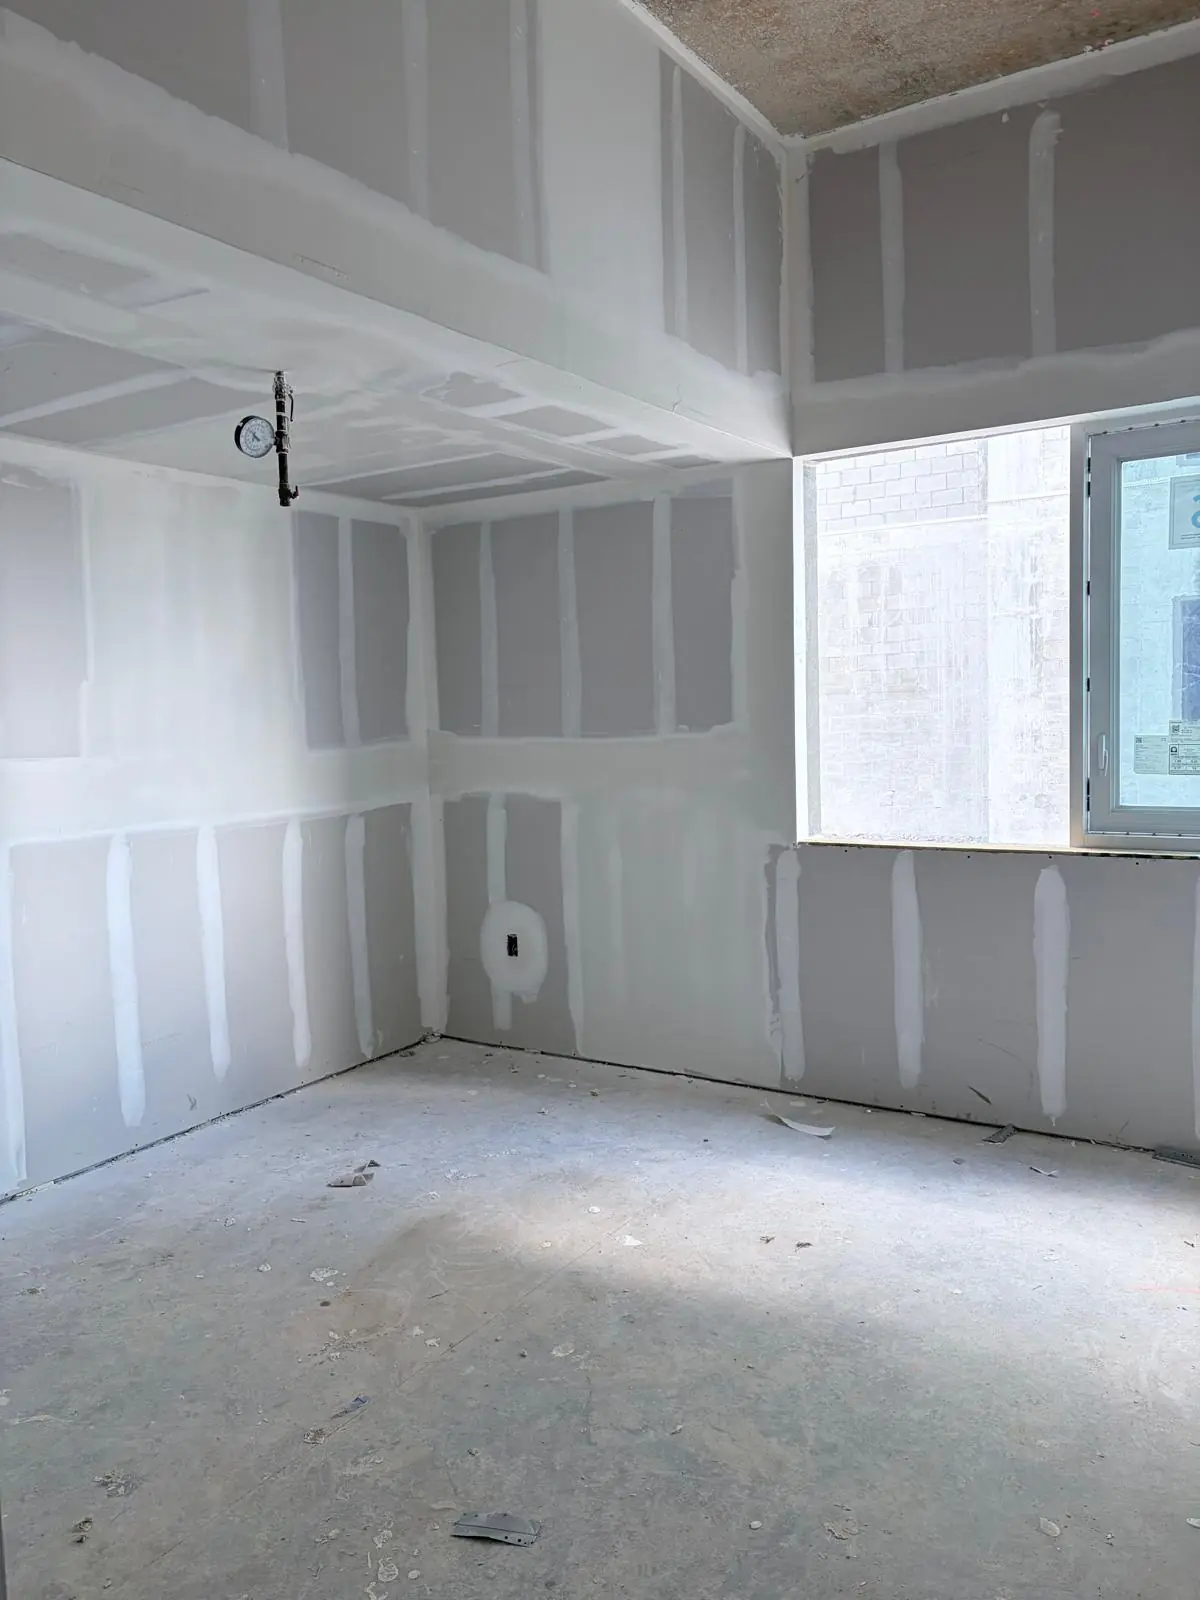
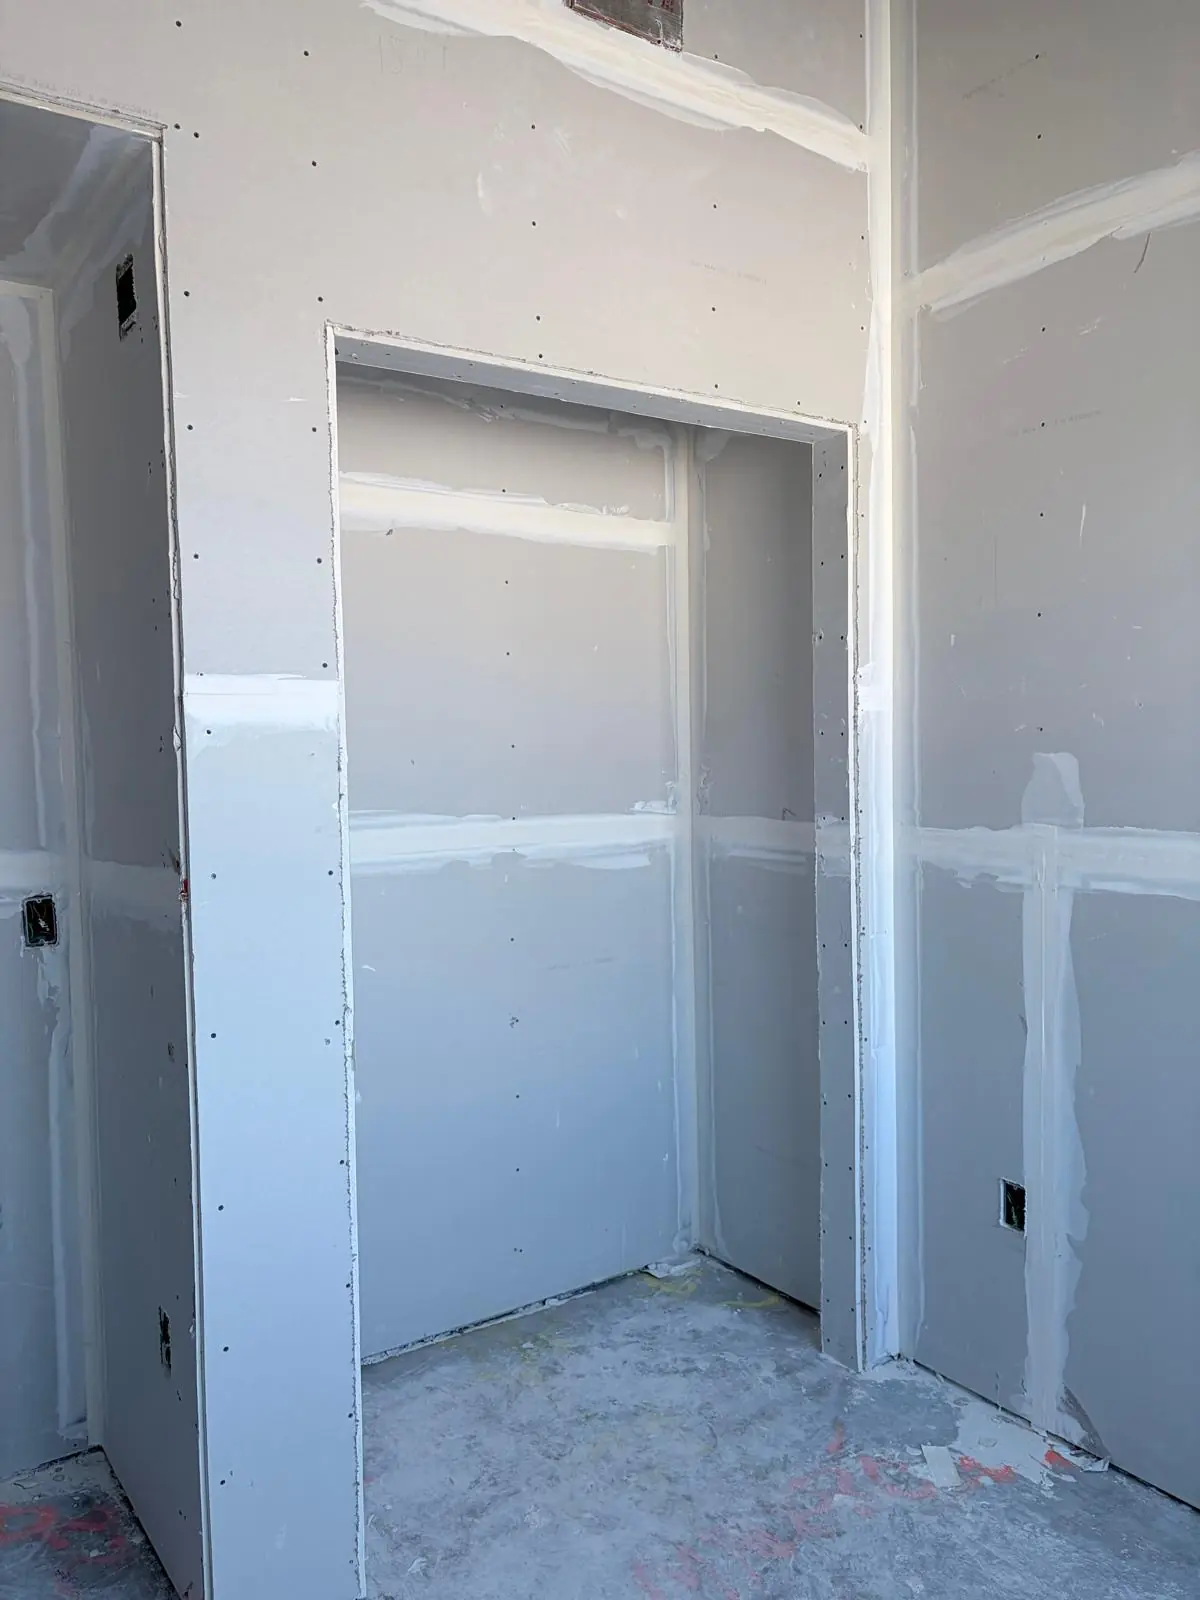
Every joint gets tape and several coats of joint compound, sanded between coats, and every outside corner gets its bead. The goal is a flat, smooth surface where no seam shows once the paint goes on. It is the stage where the quality of the drywall crew is seen most.
4. Bathrooms
In the bathrooms, the tubs are set and the plumbing is checked before the walls are closed, so the board can be fitted cleanly around them.
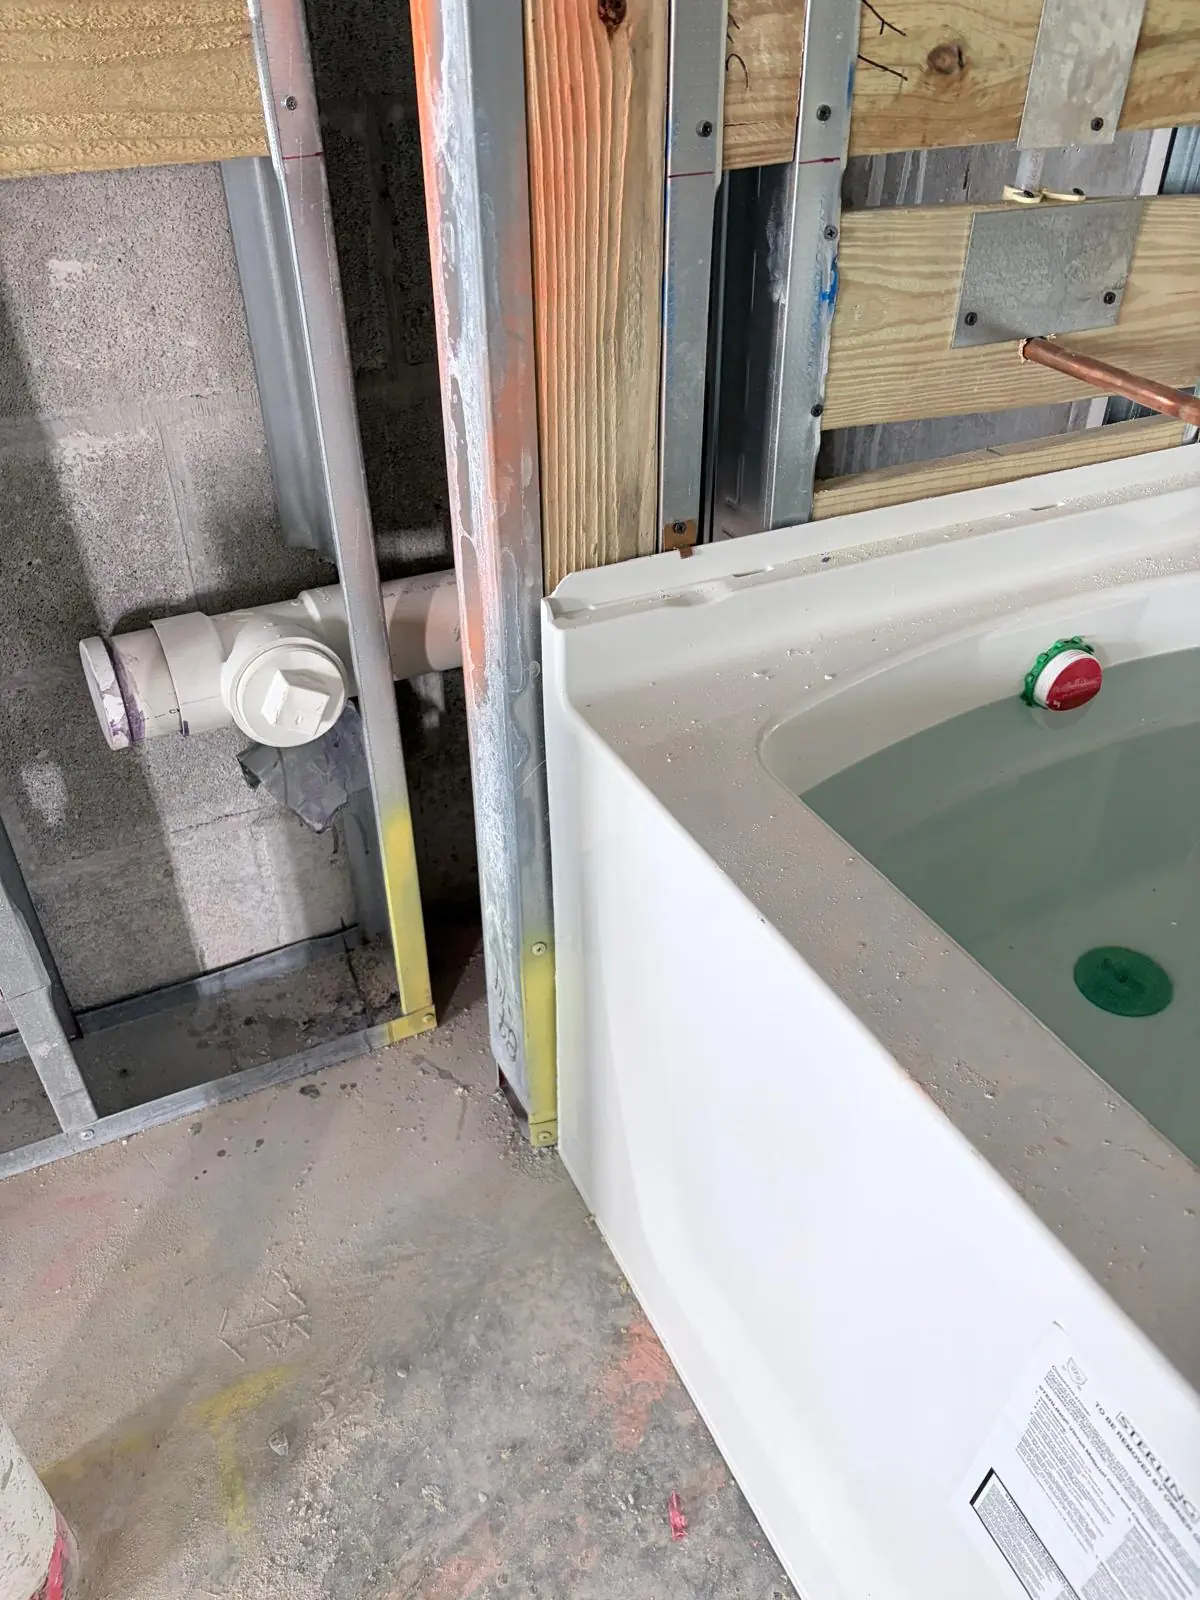
5. Rooms ready for paint
Room by room, the units are finished and ready for primer and paint. From bare slab to smooth walls, that is the work of 4Tress at Homestead Gardens: framing, sheathing, insulation and drywall.
What comes next
Paint and the final finishes. We will keep sharing the progress of Homestead Gardens here.
Need framing, drywall or stucco on your next multi-family project in South Florida? Talk to 4Tress Luxury Homes.